2015
Doors
Texture/Paint
Tile
Max ~ 2003 and 2015
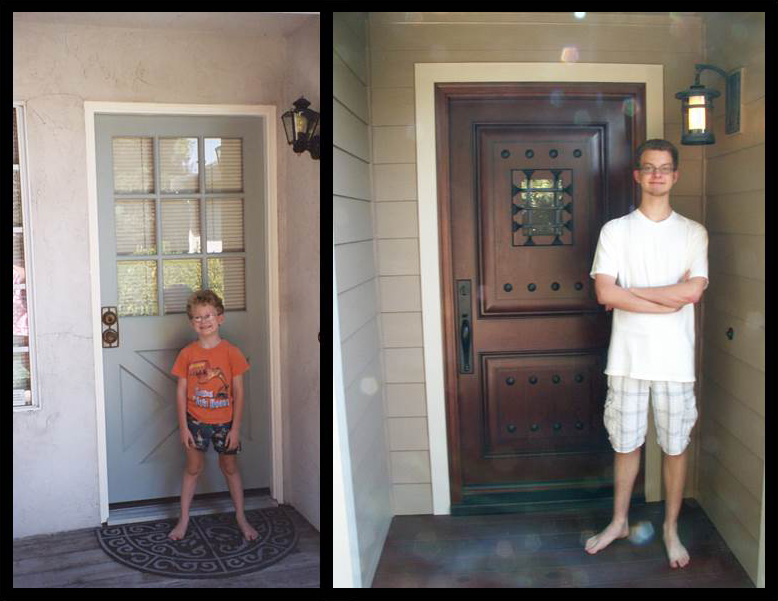
When we ordered a new exterior door, the major consideration was it's placement.
- We always thought an entry with a centered door would look better with the boardwalk.
- We had a sound issue with traffic slowing for the speed bumps in front of the house. When vehicles with booming bass slowed for the bumps, the boardwalk and stucco garage wall directed the sound directly into the entry, plus the noisy neighbors. It could get quite loud inside the house.
- The old sidelight was a possible security concern, along with the sound issue. The sidelight and hall bath window were the last single pane windows to go.
- The stucco was cracked between the door and the sidelight.
So we designed the entry for a centered door only, no sidelight.
HALL
2
MAX'S ROOM
OFFICE
EXERCISE ROOM
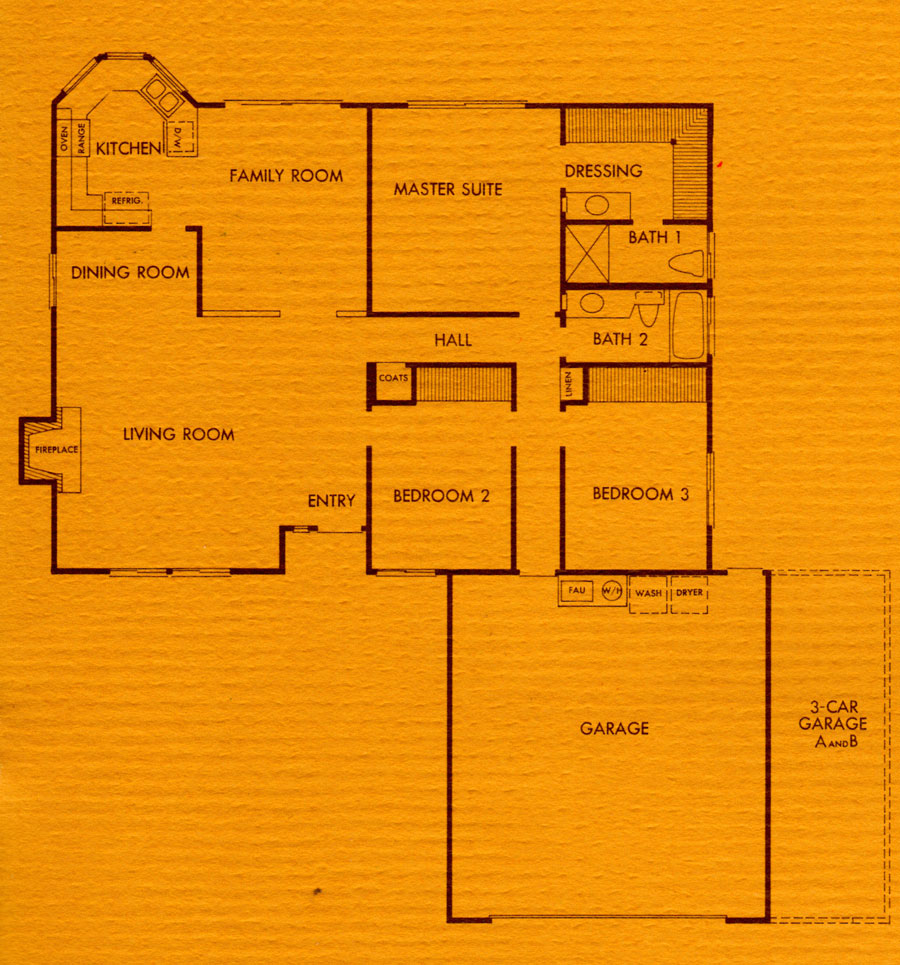
The linen closet door in Hall 2 was removed so a wider pocket door could be installed in Bath 2.
A custom floor to ceiling linen closet was installed inside Bath 2.


Sometime in December, after the door and siding order was placed, we realized the faux tile laminate entry would be mismatched with a centered door.
Our laminate flooring was glued together, so there was no way to modify it. The only option was to replace the entry flooring. We were very satisfied with the porcelain tile in our master bath; small house, keep it consistant.
That's when the remodeling job escalated...
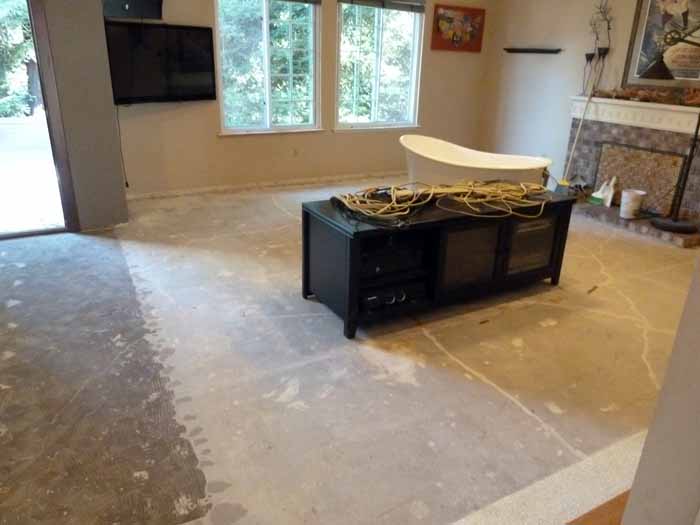
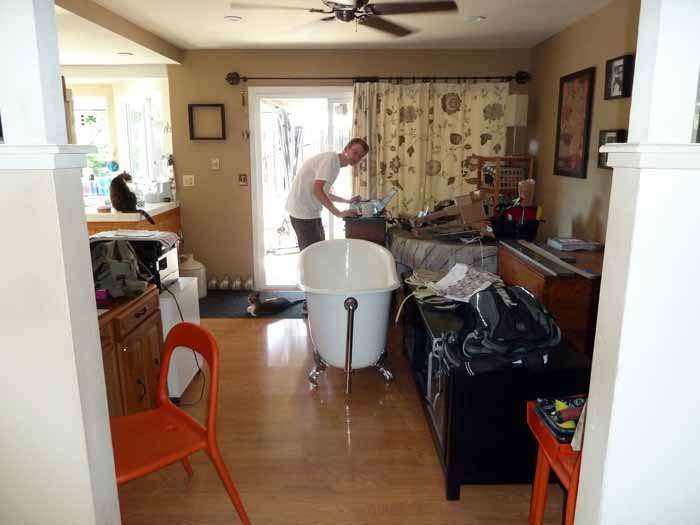
Yikes, the flooring will have to go!
The Dilemma/Opportunity...
Our next decision was how far to tile. Our first decision was to extend the tile from the entryway > down the hallway > into bath 2 > around the corner down hall 2.
The hall bath was in desperate need of remodeling. The vanity was beyond salvage, the original toilet was no longer code and leaking under the laminate floor and the shower/tub was disintegrating. As long as the flooring was going to be replaced, we decided it was time to remodel the entire bath.
This lead to the next dilemma/opportunity. Both bathrooms are very small and had narrow doors to accommodate the inswing. Fred had replaced the narrow door of the master bath with a normal-sized pocket door. We love it. To put a pocket door in this bath, meant moving the opening of the linen closet from the hallway to the bathroom. Fred determined we could insert a ceiling to floor deep cupboard into the bath and have a pocket door.
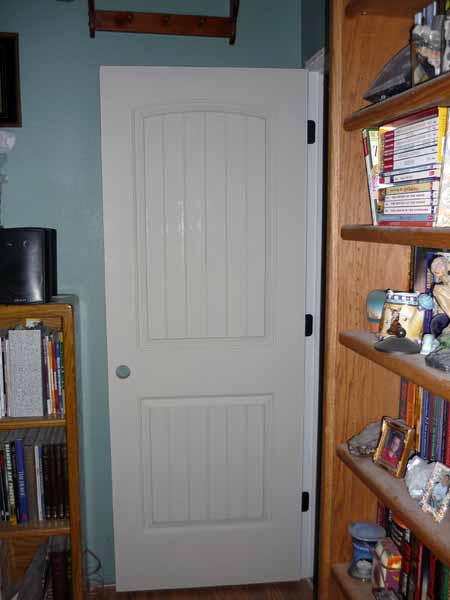
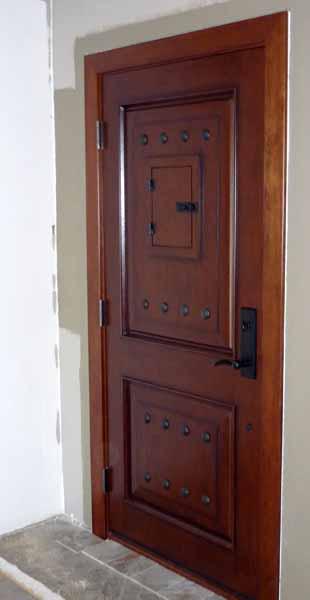
Since we would have a new front door and a new bath door, we decided to replace all the doors. We decided on a "Cheyenne" arched panel design. The office door nearest the new "knotty alder" entry door would be a knotty alder wooden door, stained to match the entry door. The coat closet, master bedroom, Max's bedroom door would be passage doors, one pocket door for bath 2 and one bi-fold door for the second office door.
Rather than trying to match a 35-year old texture with new sheet rock in the new entry way and pocket door, I decided to float, hand texture, prime and paint 752 square feet of walls in the hallway, entry and living room. I had last painted in 2005, so we were ready for a change.
January...floating out the textured walls, begin ordering materials
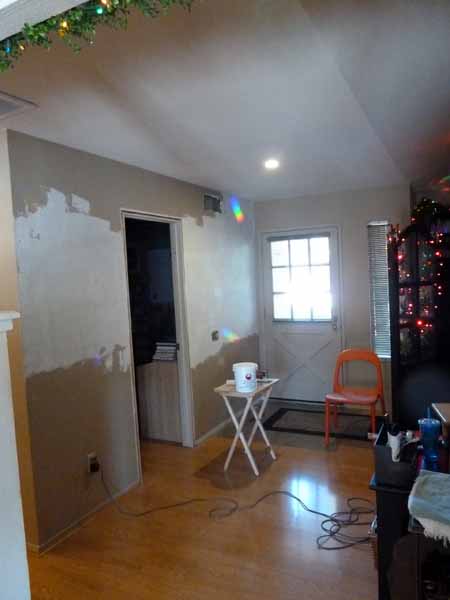
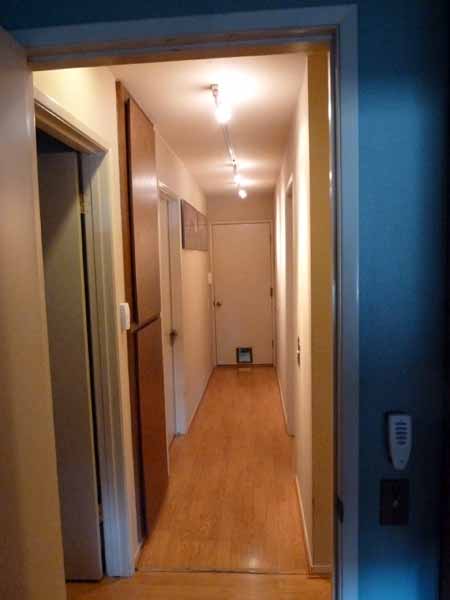
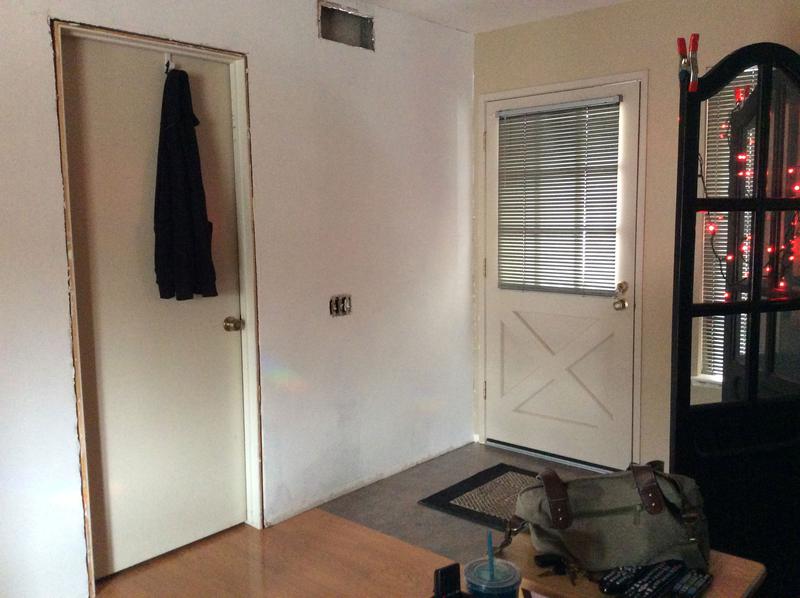
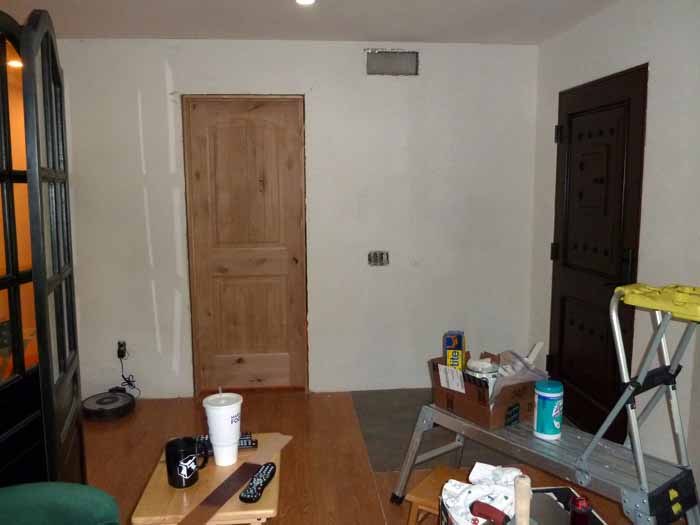
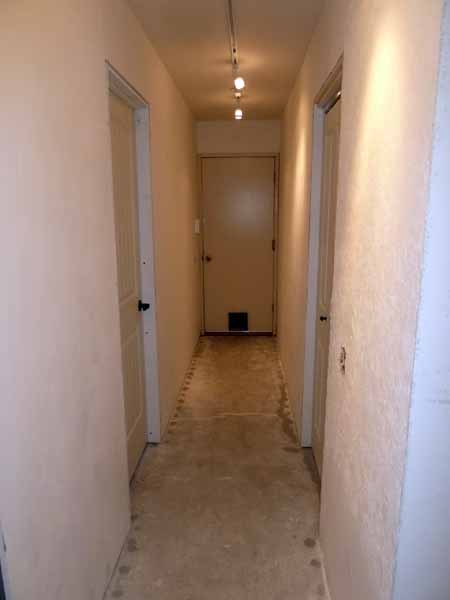
BEFORE ENTRY...we will miss the natural light from the door but not the drafts and noise!
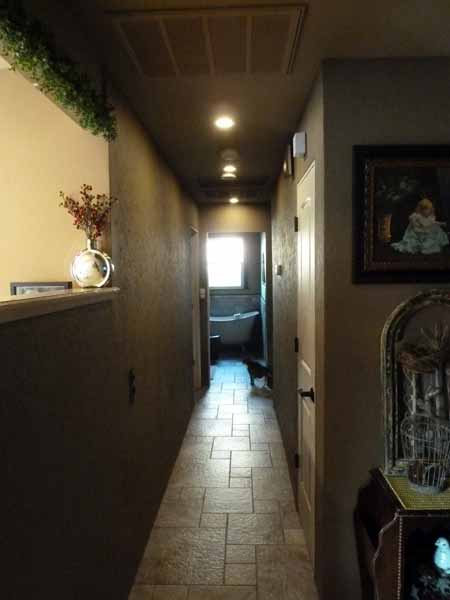
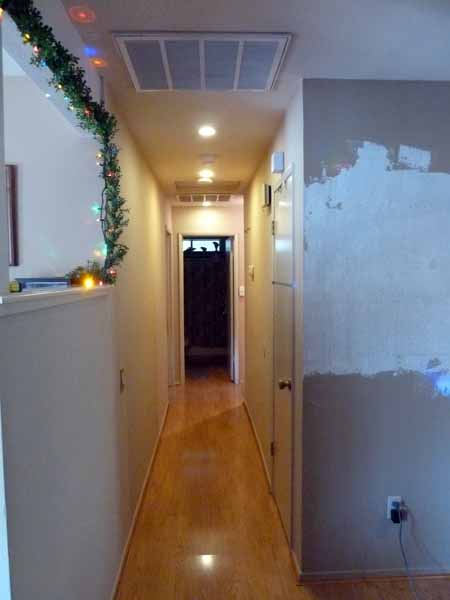
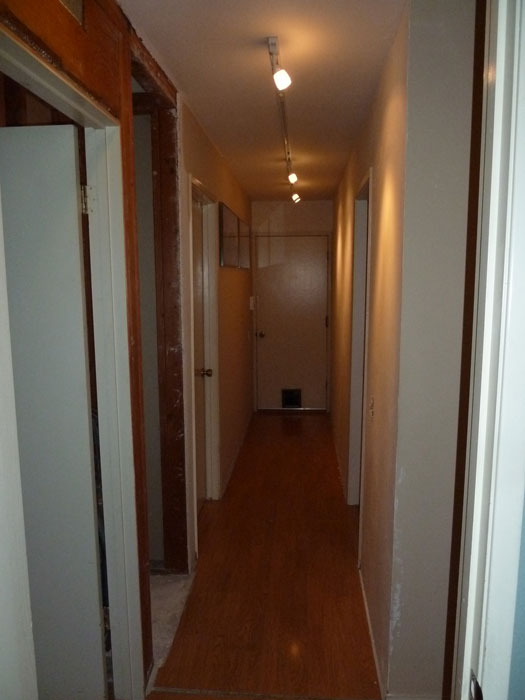
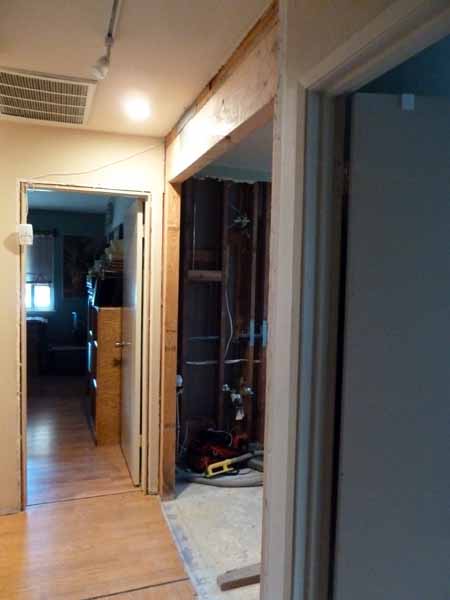
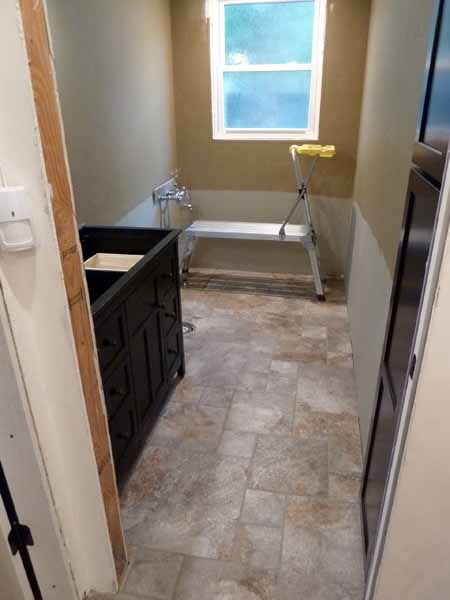
BEFORE HALL 1...flat doors, not much light from bath window, ugly view of bath
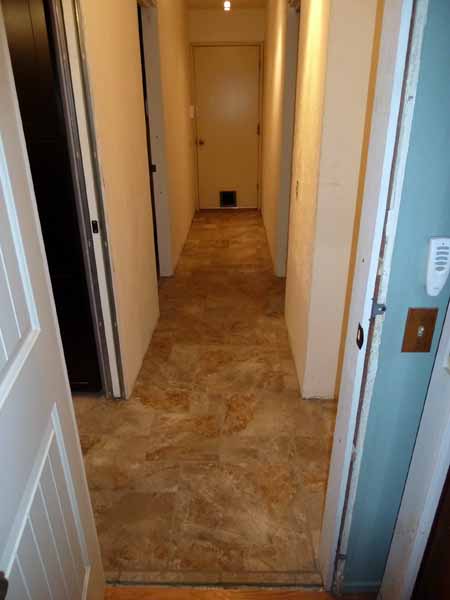
BEFORE HALL 2...this is good shot of the original linen closet doors in hall 2
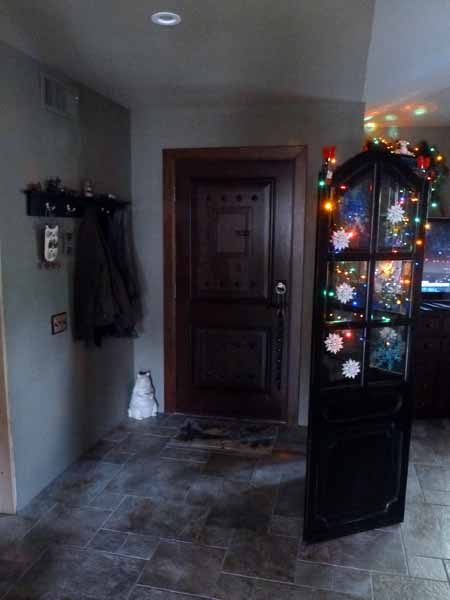
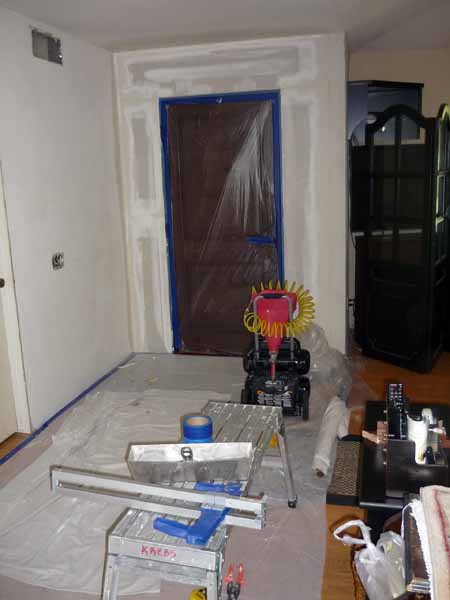
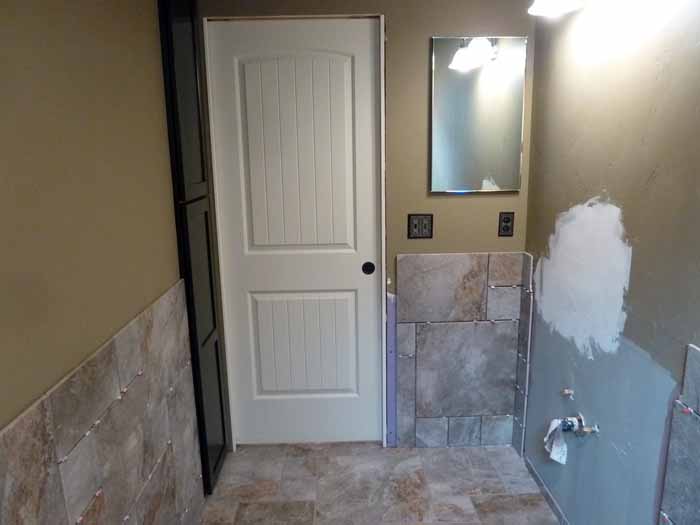
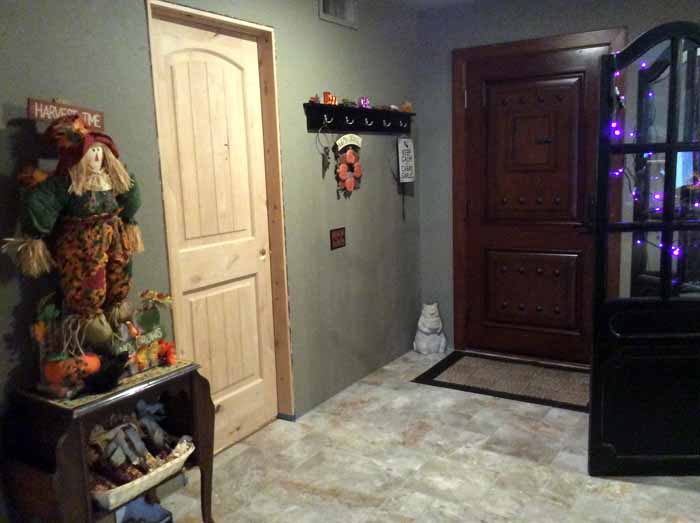
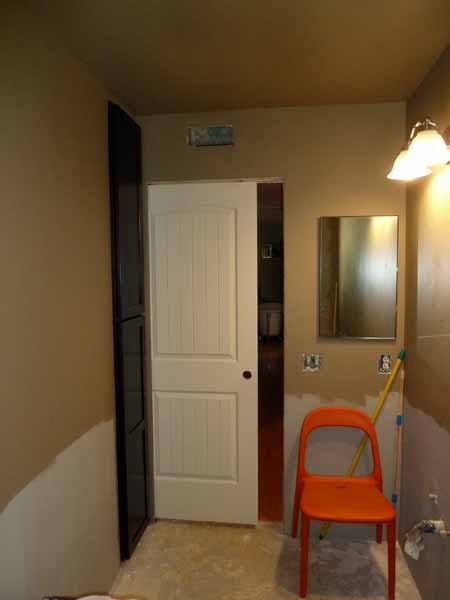
AFTER ENTRY...We had to give up some natural lighting, but the payoff is in security and sound dampening
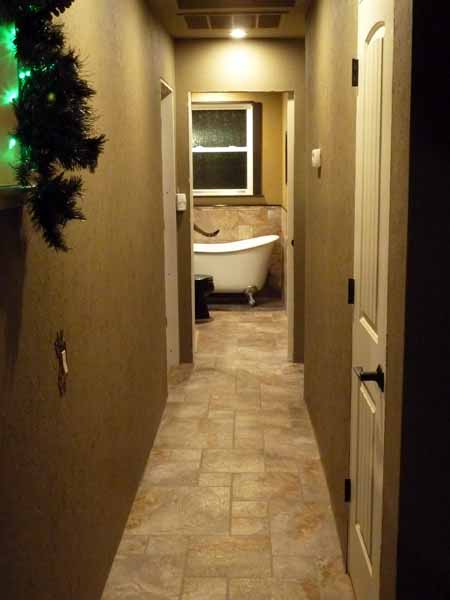
AFTER HALL 1...our bath is fully in view from entry, living to family room, now has an OMG tub view!
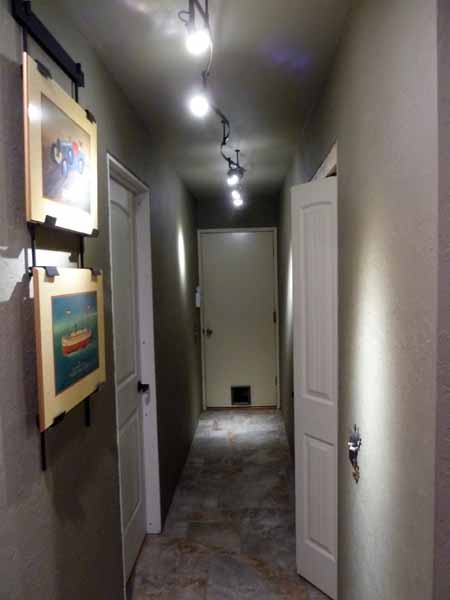
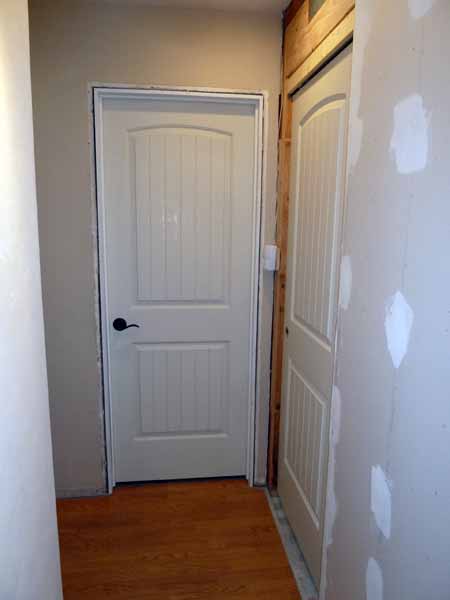
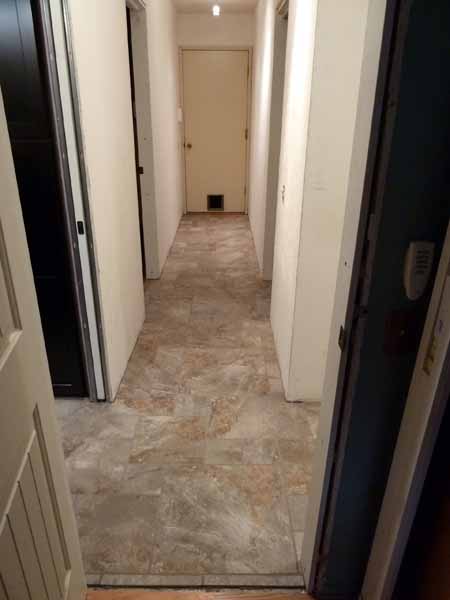
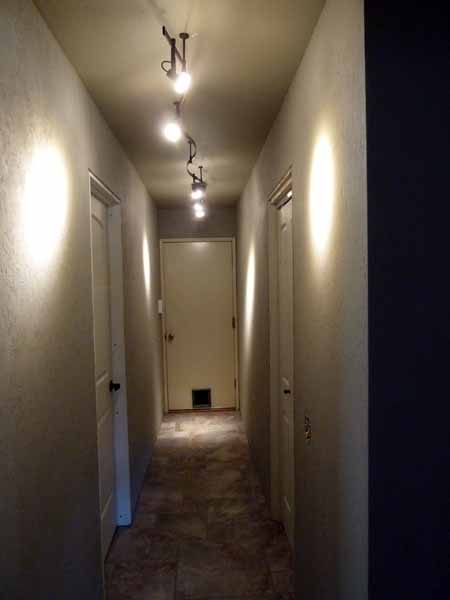
AFTER HALL 2...new led fixture, pictures instead of brown doors, more of a gallery look
We spent most of January and February concentrating on the bathroom work but the opening for the pocket door is coming along.
Floated walls make boring pictures, just white walls and empty buckets.
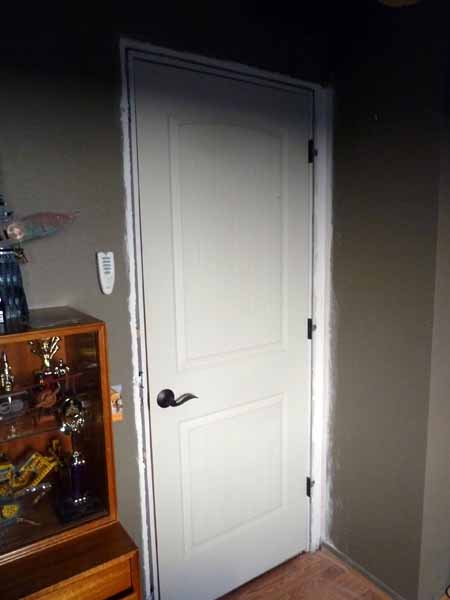
New interior doors have been ordered. Glad to see the last of these poor-quality, poorly painted doors.
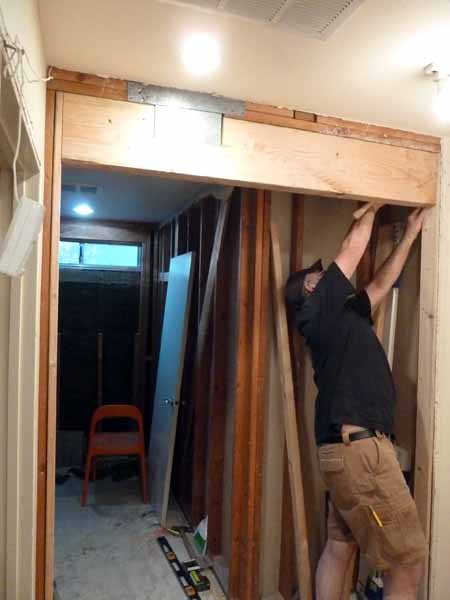
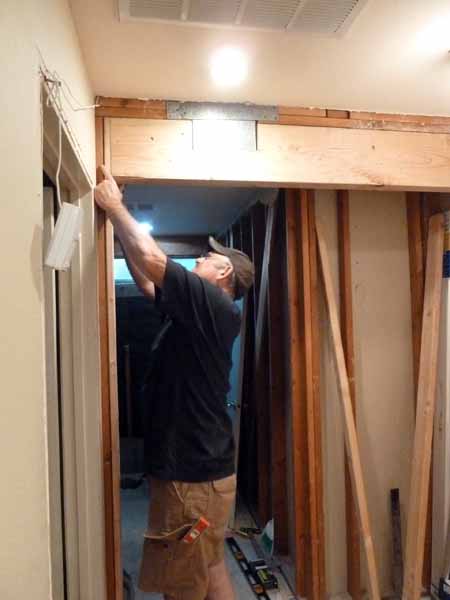
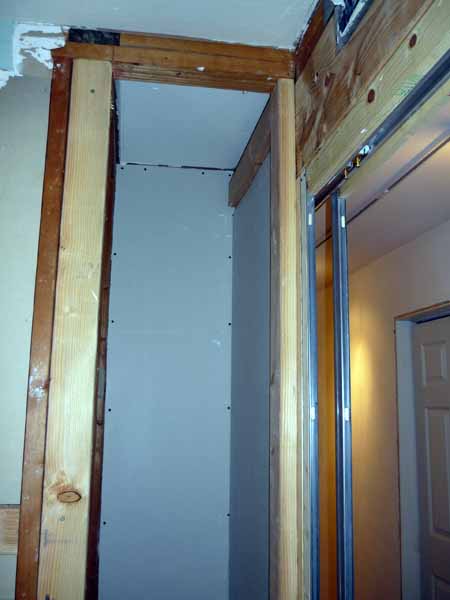
February...floating out the textured walls and Fred installs pocket door header
Fred's aching shoulders got a work out installing the header. We were able to move the security motion detector to its proper placement in the corner. The linen closet refit was hard to imagine by just looking at the studs. Fred measured the space and we ordered a cabinet from Lowe's, similar to the one in the master bath.
March... our siding & door installation is finally scheduled!
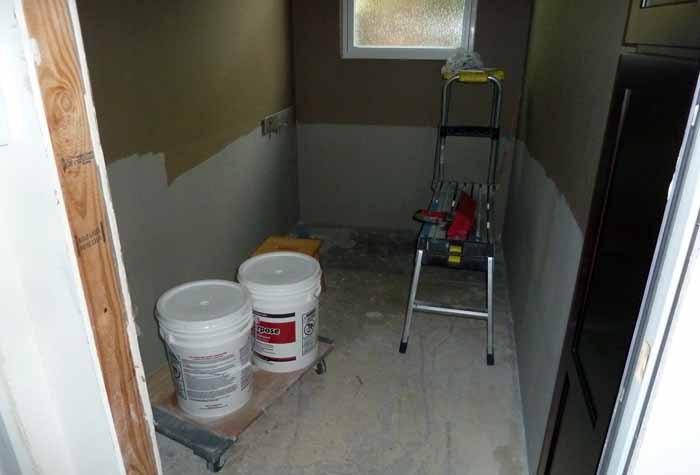
Siding and door installation date finally arrived in March. The entry before insulation and wallboard.
A week after installation and inspection, the first of the finishers came to install the insulation and wallboard. He taped and textured the ceiling. Quite a character!
A week after the wallboard was up, the second finisher installed the mahogany trim around the door.

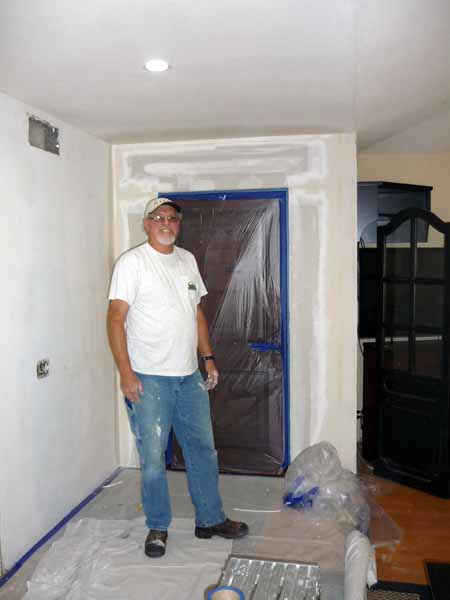
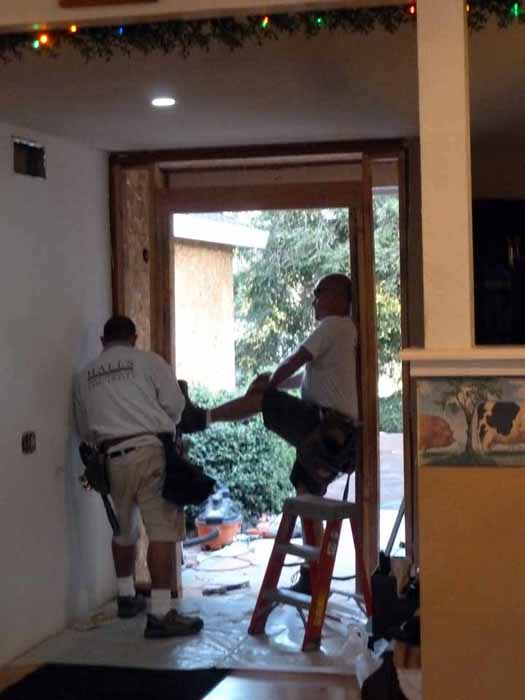
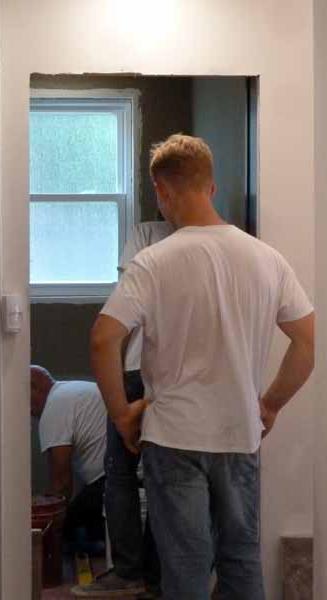
Fred takes advantage of his time off from work...Door Installation!

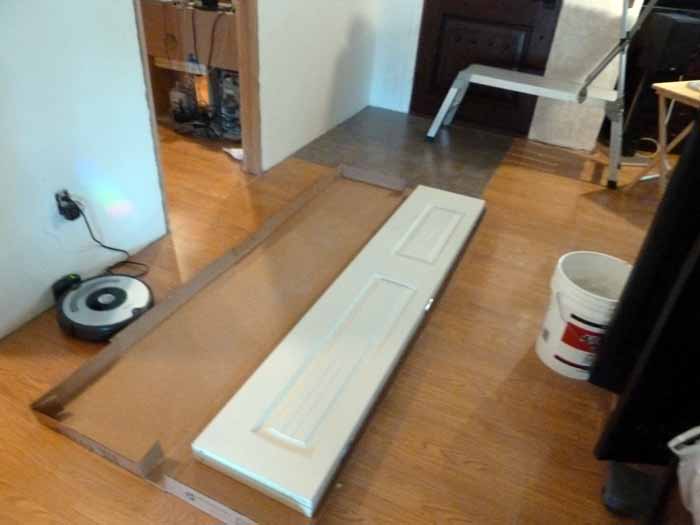

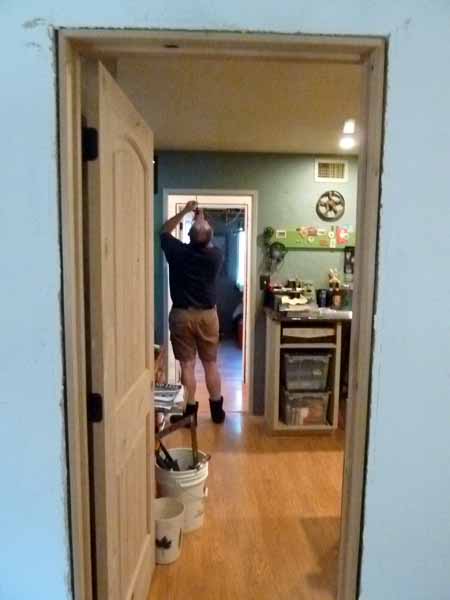
After a few Youtube videos, Fred was ready for door installation. Previous house/builder issues should have forewarned him of the problems to come.
View of original doors, you can see a sliver of the wallpaper and oak board on the wall in bath.
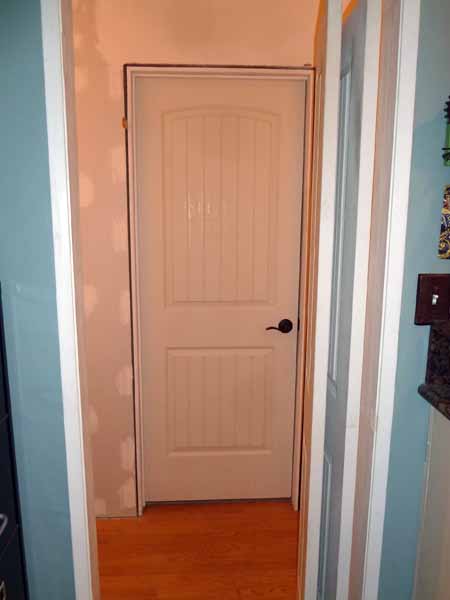
New master bedroom door, disregard the joint compound dust!
Pocket door hardware up
Another view of the pocket door hardware; this is the really good stuff.
It makes a heavy solid door glide with one finger.
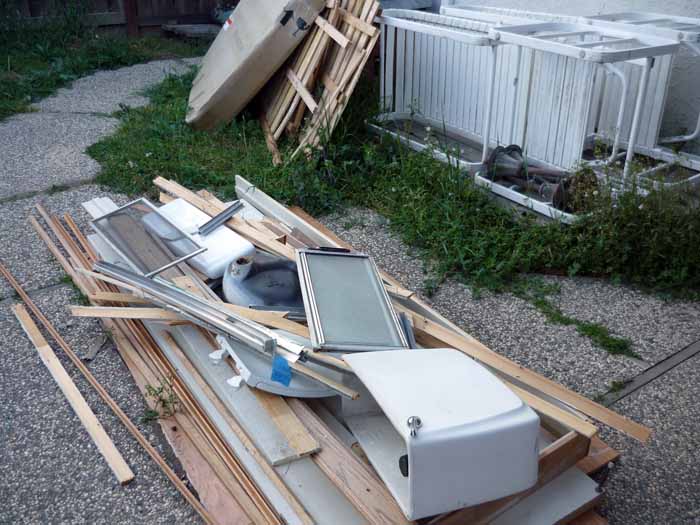
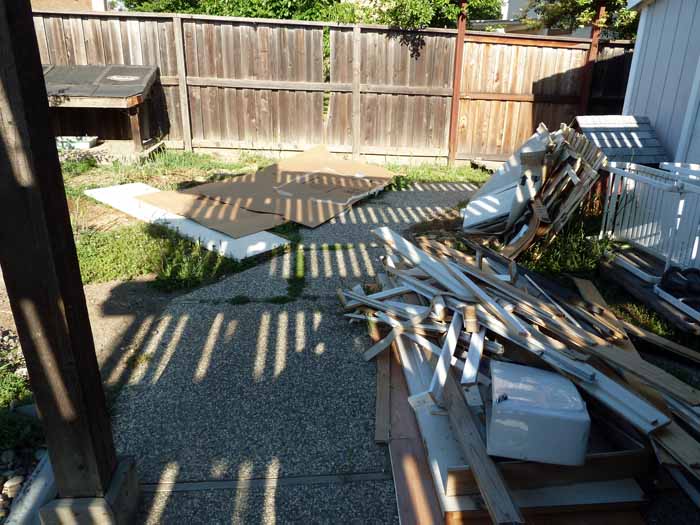
The refuse pile is growing again, one trip to the dump was not enough.
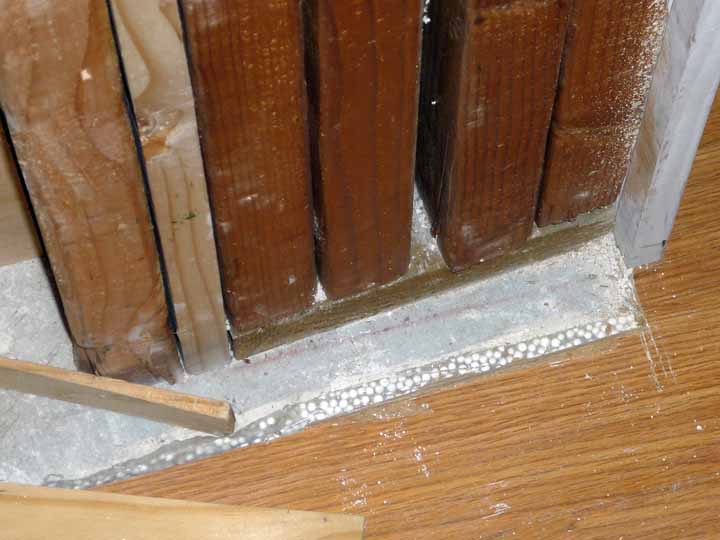
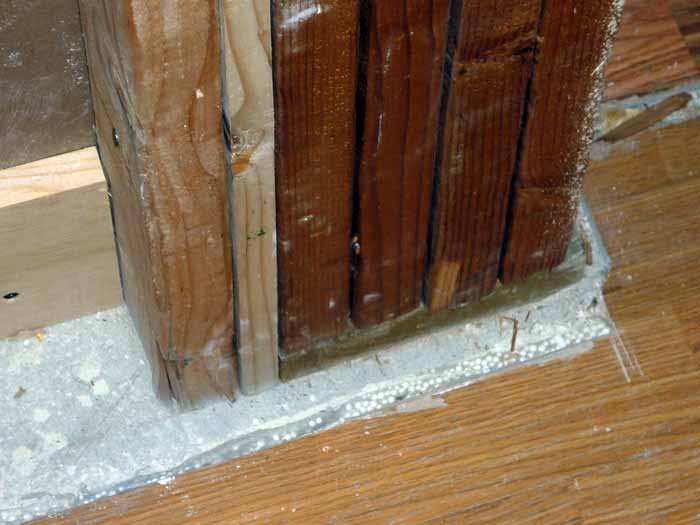
Fred had to deal with some very problematic walls and door framing. Picture to the left shows how far the wall between the linen closet and Max's bedroom door was skewed inward. Fred removed wall board on both sides of door and used a bar to shove and align the wall. All the walls were canted in some way, except for the pocket door. Some problems were passed onto the person doing the texturing, I was able to built out the texture or take some away. The trim will have to address some problems. All the new doors hang properly and open and close without issue. No more door stops!
The master bedroom and bath doors and new wallboard where the linen closet used to be.
Max's room door looking from inside office.
Max's door from inside his room. A section of wall board was removed to straighten the wall.


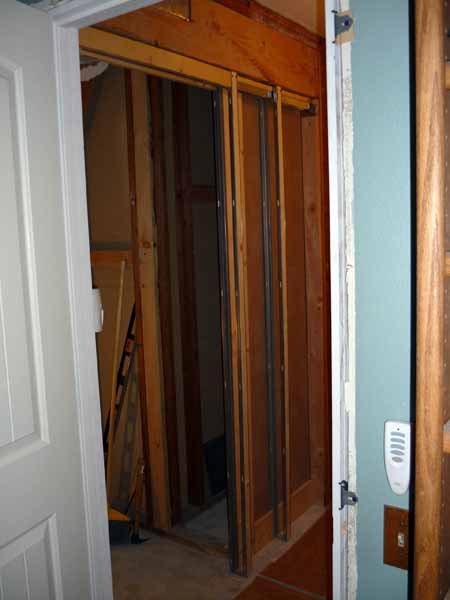
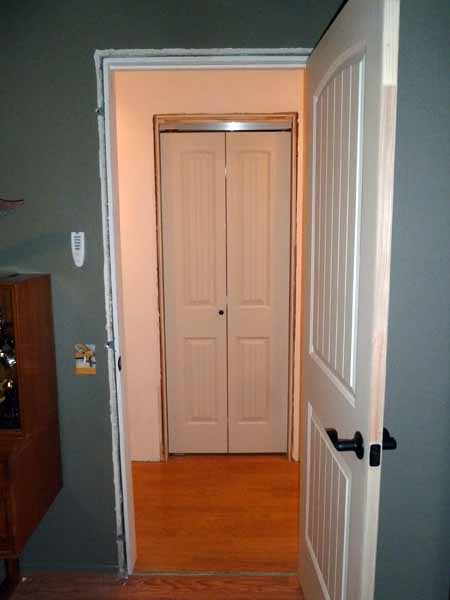
The refitted linen closet is taking shape.
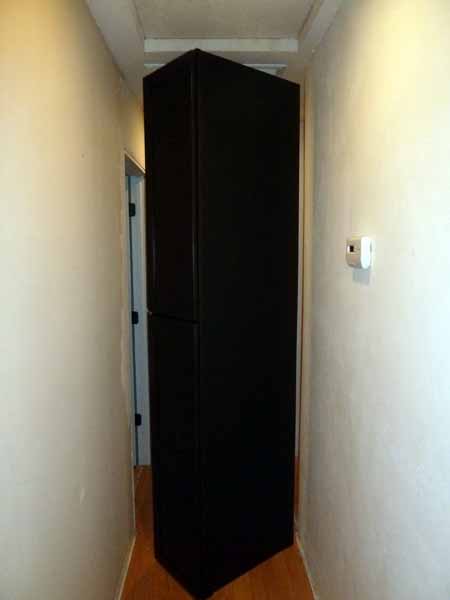
The pocket door & linen closet installed.
We custom ordered this cabinet from Lowe's. Fred does good measuring, it fit perfectly.
Here's a look at the specialty doors in the "office." A solid wood bi-fold door and a beautiful knotty alder door. I will stain the knotty alder like the entry door.
Here's a picture of what the house looked like most days, scaffolding, trowels and buckets of mud. I did minimum of three layers to float the walls smooth. The Marshalltown trowel got a lot of use. I tried to stay away from sanding the walls smooth like I did in Max's room. The dust carries everywhere and I felt like I was cleaning more than texturing. My shoulders and elbows hung in there through the whole project.
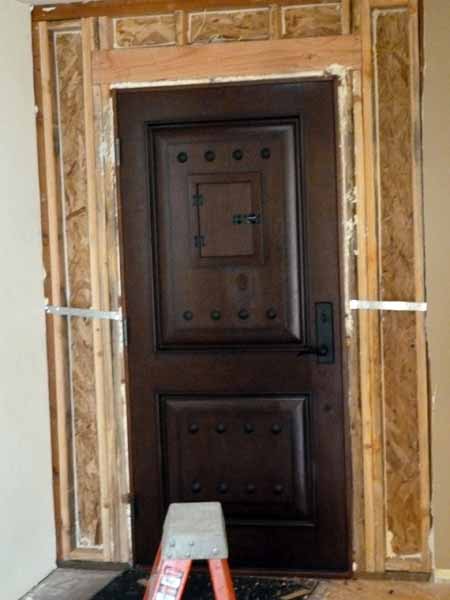
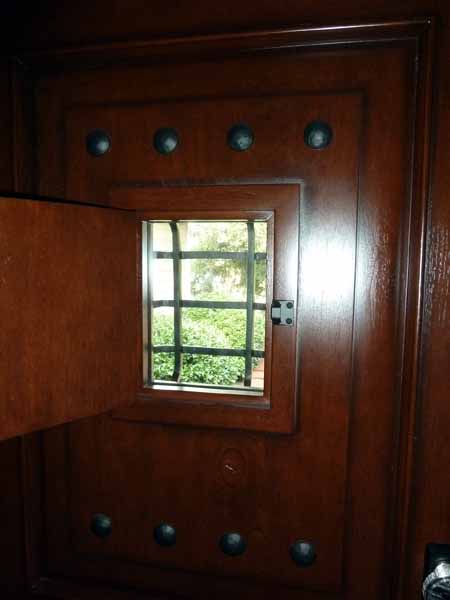
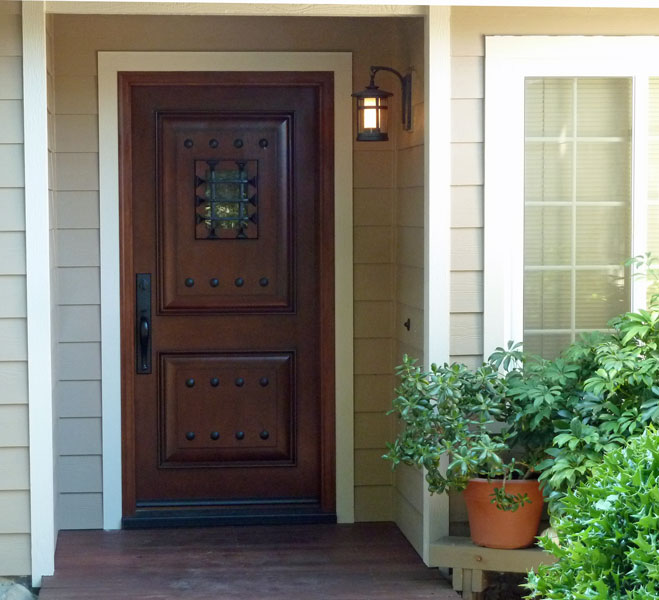
A few more pictures of the fantastic Jeld-Wen door. It is actually fiberglass. The speakeasy is an attractive feature. The old door leaked so badly, this is a huge improvement. I liked the 9-pane door when the neighborhood was more secure.
I'll need to keep the boardwalk stained! This takes us to the end of March; the tall cabinet picture was taken 4/20/15
Let's take a break from all the doors!
In June, Max went to Embry-Riddle Aeronautical University's summer camp for a week. Once called Balloon Camp, it's now known as Computer, Electrical & Software Engineering - Near Space Research Camp

Max and Lily Junior Prom
Fred, Max and I took a look at the Grand Canyon after picking Max up from Embry-Riddle, Prescott.
Ready for floor tile in May & June, wainscot in July
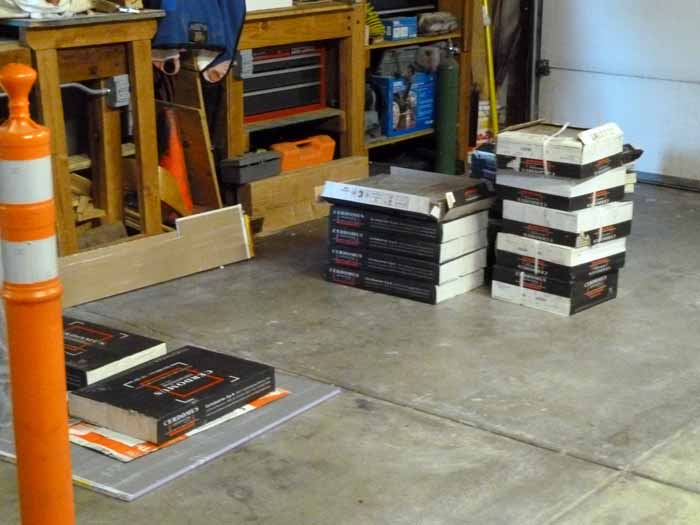

the AFTER pics...
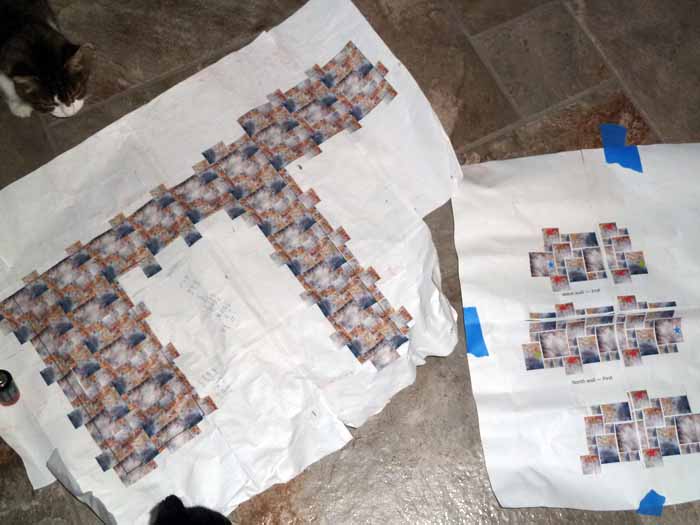
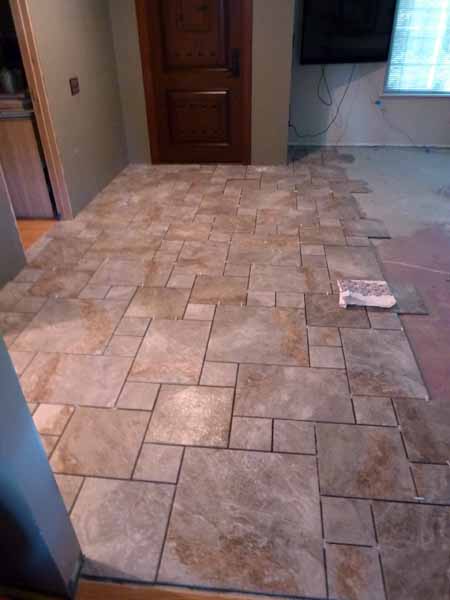
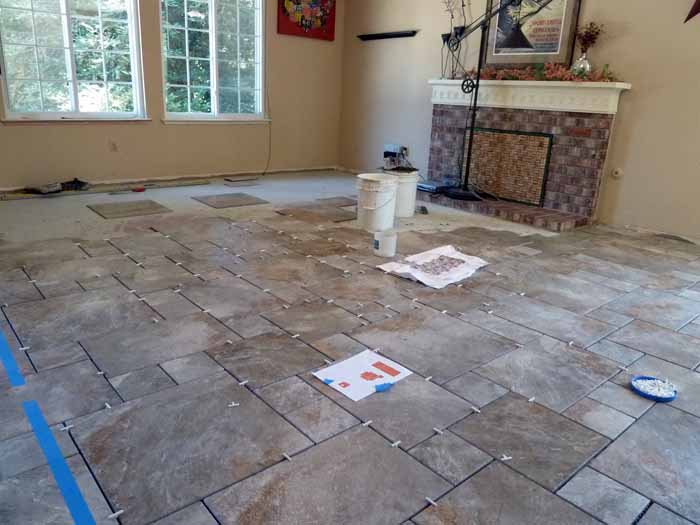
I worked up my own tile plan and ordered tile; I can get the margin of error down close. We requested Vlad as our tile installer again; I've never seen Vlad make a wrong cut. The tile pattern I chose has 12 tiles using four different sizes of tiles. Vlad likes using the plan, too; he can see all cuts for maximizing the tile. We got the tile in April and agreed to work on Sergey's downtime schedule for a reduced rate. He is extremely busy and was already scheduled four months out at the time of ordering tile. On the 2nd of June, Sergey had a delay in a commercial project and we were scheduled the following morning.
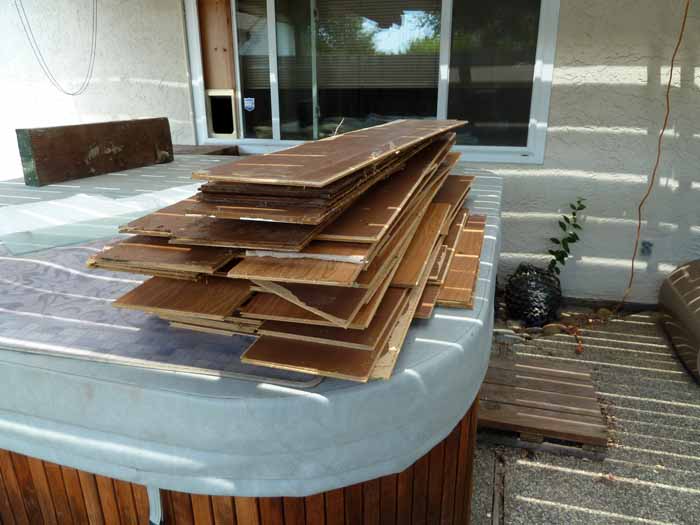
The trash pile is growing again. I didn't get a shot with all the laminate flooring in the back yard. This is just the halls and entry from mid-May.
Once the glued laminate sections sat in the sun, I could break them down into plank sections.
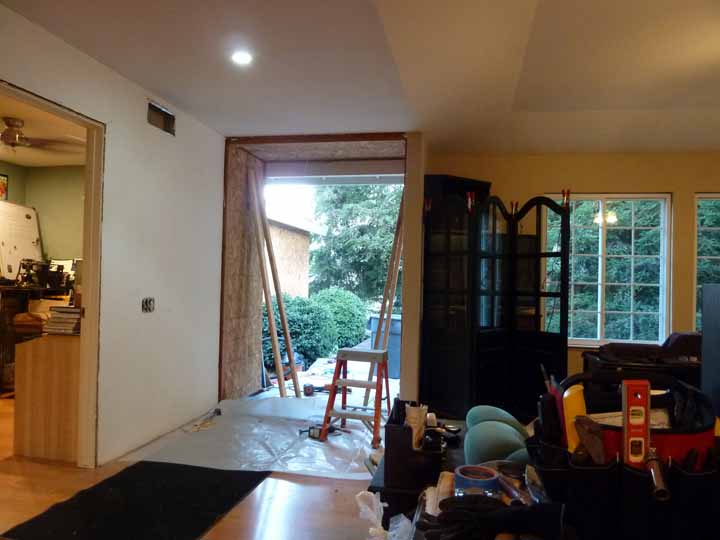
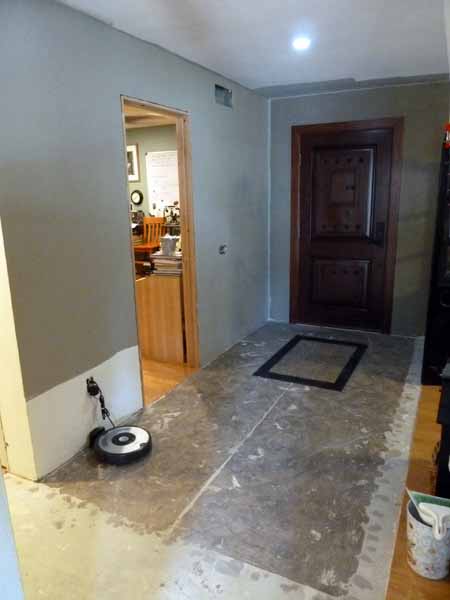
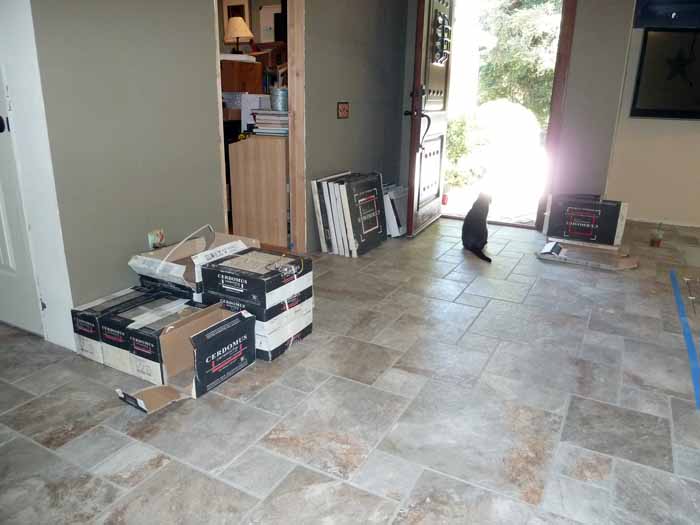
This photo shows where we planned to tile. At first we thought we would just replace the entry, halls and bathroom flooring. Fred made a nice cut, angled to the doorway of the family room. The dark spot in entry is from the original herringbone wood floor entry in a carpeted room, circa 1980.
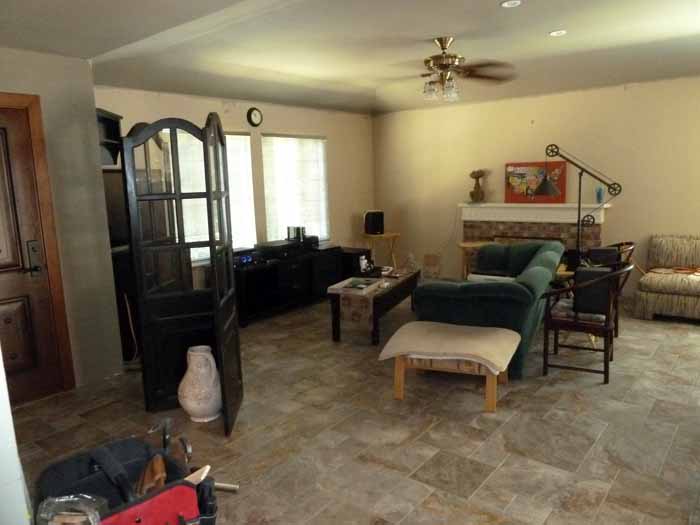
But after living with this configuration for a week or so, we decided to extend the tile into the living room only. (At some point, we may extend the kitchen into the "exercise" area and had that in mind when deciding not to tile that section.) The 3-door room divider wouldn't fit on the different floor sections correctly, either too close to the door or blocking the TV in the corner. I do appreciate the way it blocks the view of living room from someone outside the front door.
Plus, the tile is so attractive, it would be a crime just to do a small portion of the floor. In small house design fundamentals, don't visually break up a small area into smaller areas. The laminate had been down since Max was crawling; it looked okay but not nearly as handsome as the tile. If it had been been an actual wooden floor, I might have kept it but it can't be repaired or restored when it gets dinged and damaged.
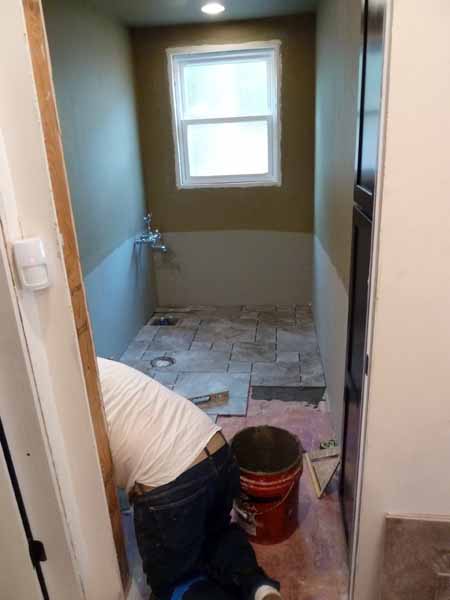
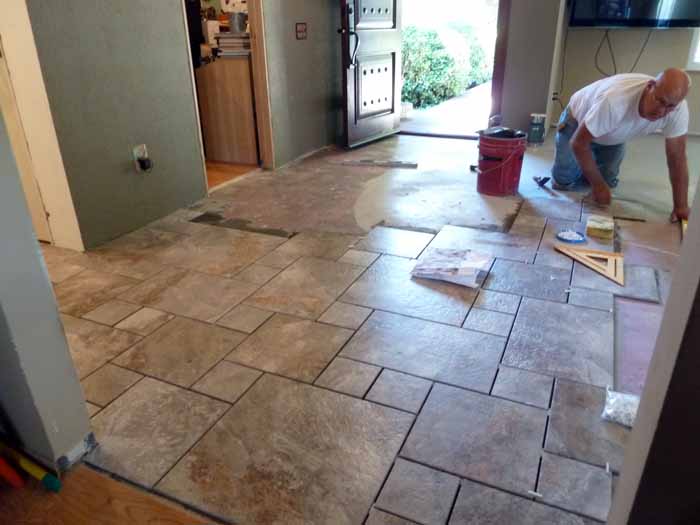
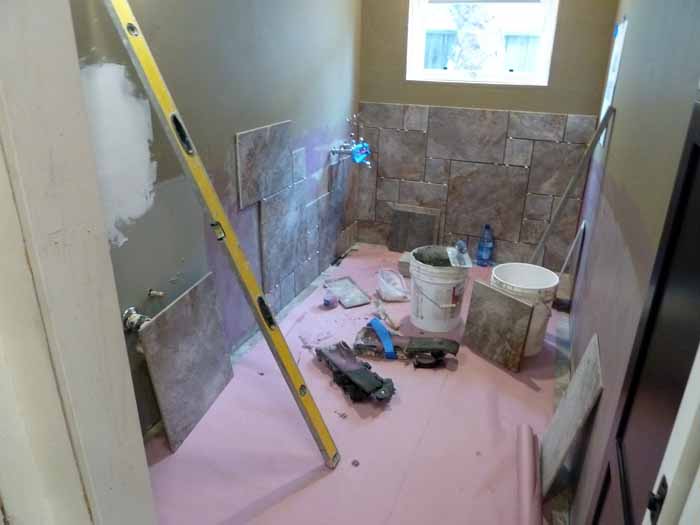
June 3rd. Tile day was a bit of a surprise. Since we only had tile enough for the entry, halls and bath, I didn't think we needed to clear the living room. But Sergey wanted the entire house chalk lined and that meant a fast clearing of furniture plus breaking up and pulling out the laminate in the living room.
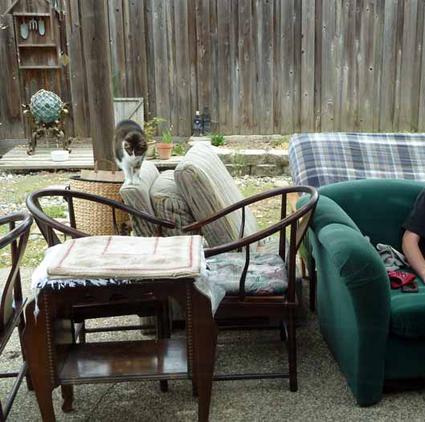
Furniture was quickly moved to the office, family room, patio and exercise area. In an hour and a half, the living room was emptied and the laminate pulled up. I'm glad it wasn't raining!
We spent time cutting the laminate at the exercise nook, the Russians tried power tools and had to resort to chisel and hammer. That Formica laminate is much harder than most newer laminates. Only after it was cut, I realized the stationary bike was too long for the laminate section and decided to have that area tiled right away rather than waiting for a kitchen remodel.
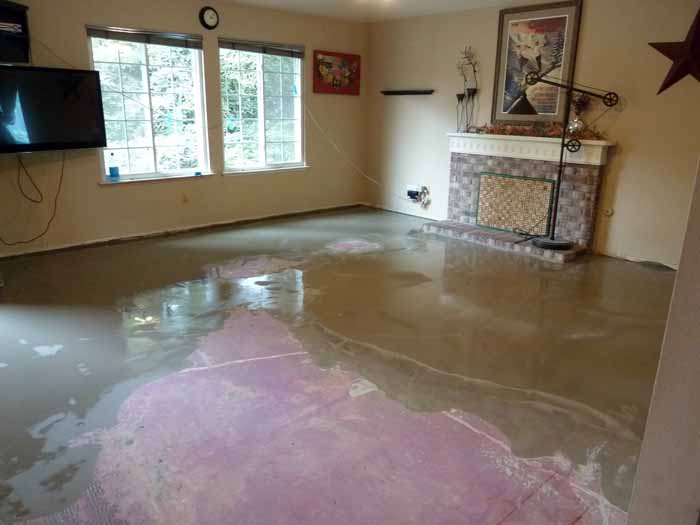
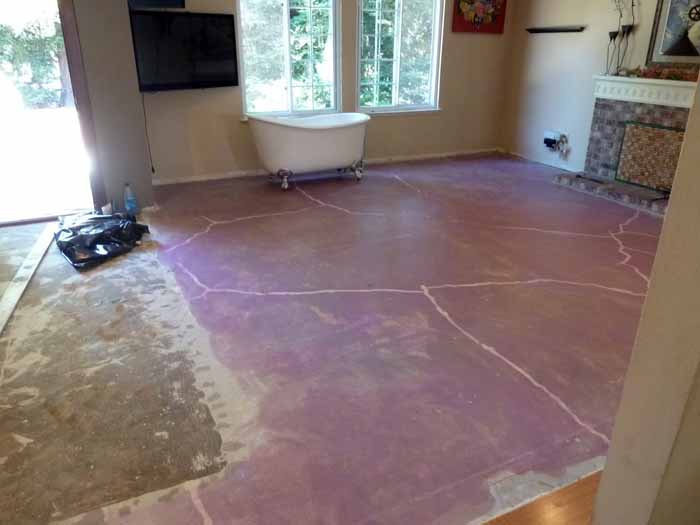
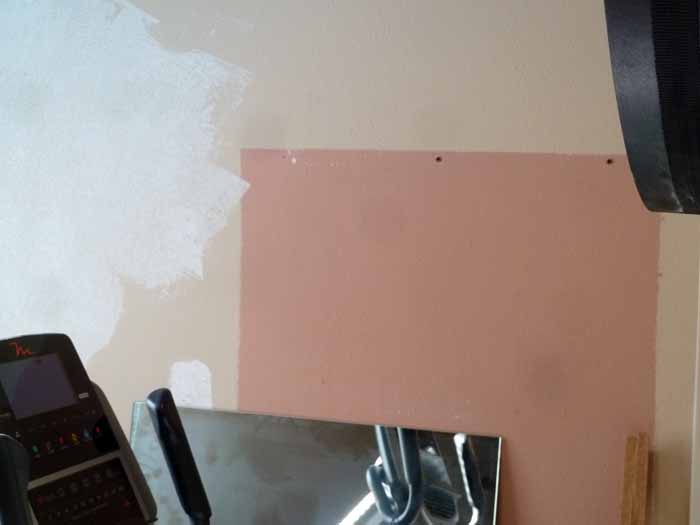
The pink color is Dragon Skin, a waterproofing and anti-fracture membrane. We had filled in the cracks before we put down the laminate, good to see that they hadn't changed in 16 years.

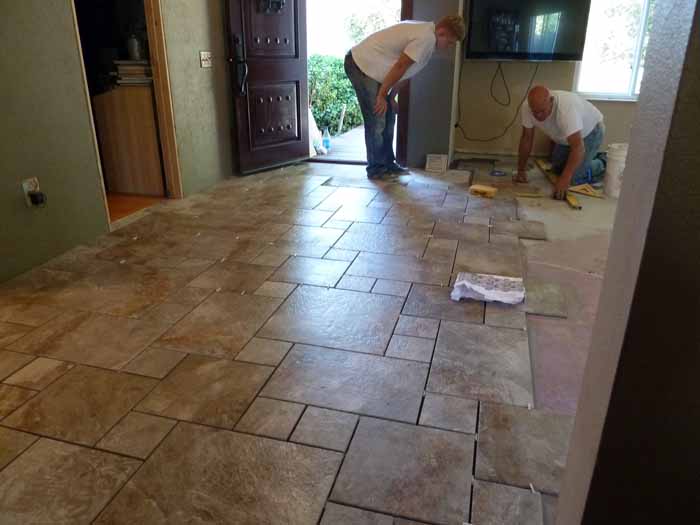
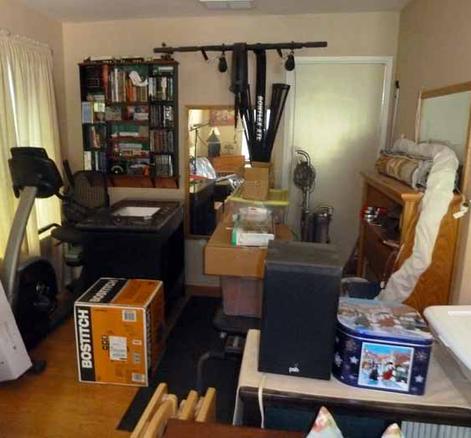
Overnight we made the exercise area decision, so Max and I moved all the furniture and exercise equipment out of that area and fully packed the office. It was a good thing that Max was out of school for the summer; he wouldn't see his desk in the office for a while! While Vlad was tiling, I pulled the rest of the laminate flooring.

DAY TWO. This was also Max's last day of being a junior in high school.
I was wondering way he looked so tired in this picture; it was more than just furniture moving. Then I remembered he has had pneumonia for the past week in the midst of finals!

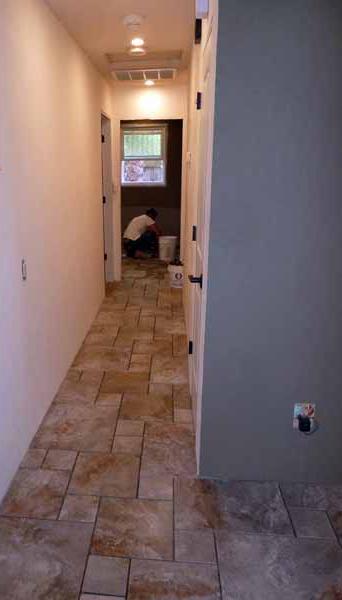

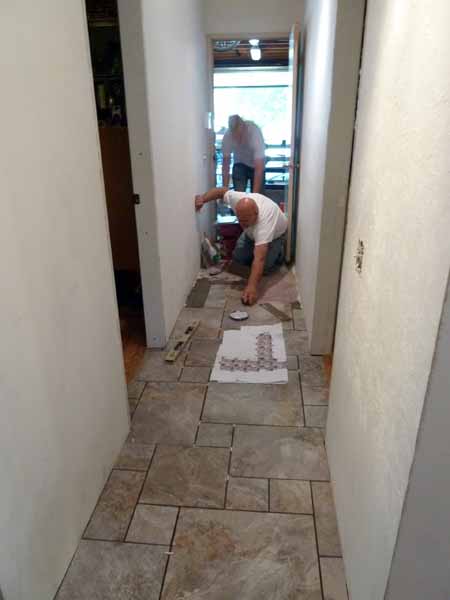
Vlad's son is grouting the bath, halls and entry.
Another day and we'll be able to walk on the new floor
Time to dry-fit the vanity into the bath, officially on flooring and not cement. Okay, white dress or blue dress?
June 16th. Tile arrived so we could finish the living room and exercise area. Yes, there was plenty of tile left over.
Vlad's son finishing the living room grout.
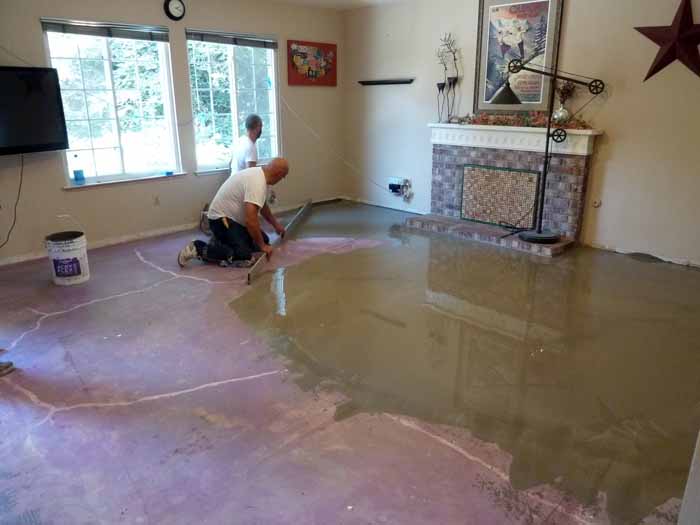
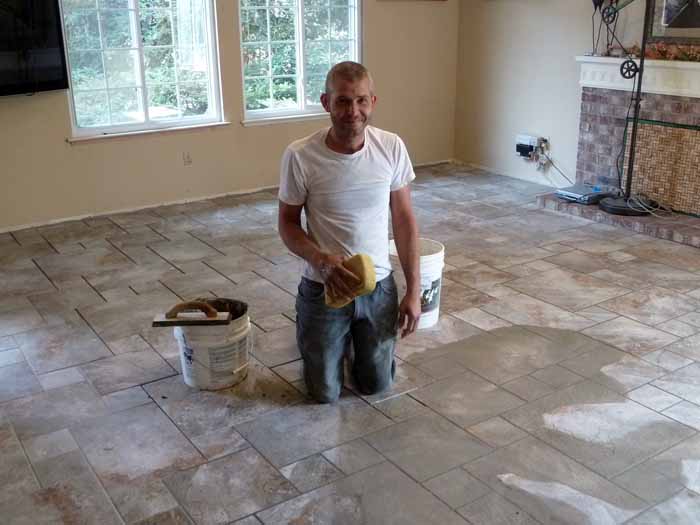
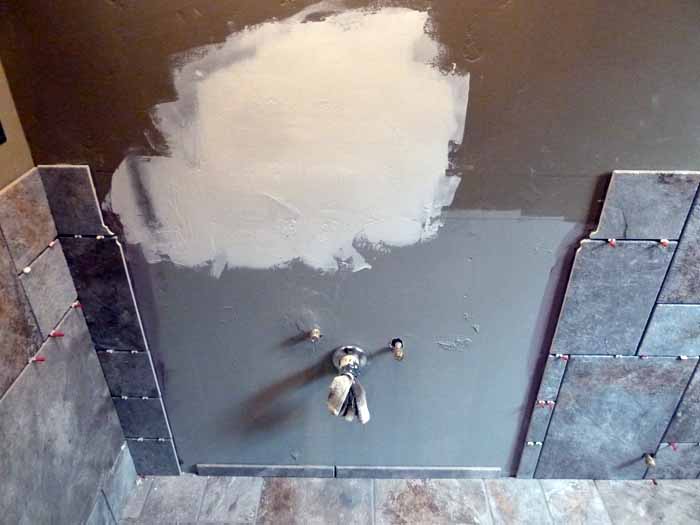
Vlad and his son spread out a leveling agent.
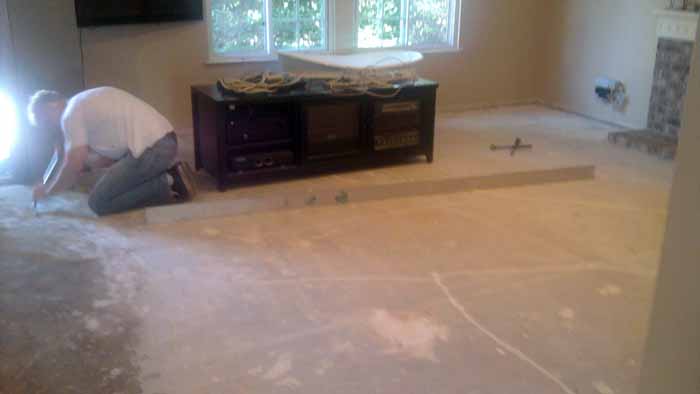
The kid was set to scraping old adhesive prior to applying dragon skin and leveler.
Vlad made me promise not to take as many pictures of him as I did when he tiled the master bath. So only two pictures of him tiling the bathroom.
First day of summer vacation.
RAIN!
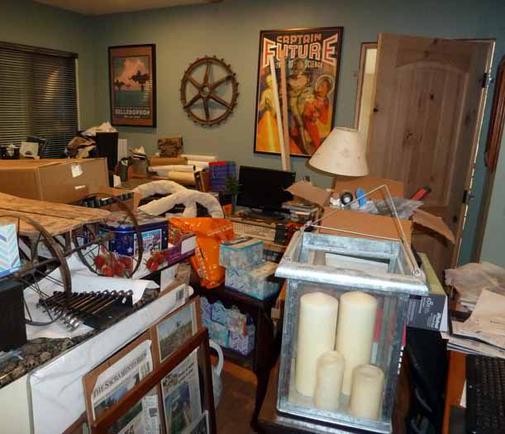
Max and I have a rush job of the moving furniture inside the house and to the garage. The office and family room are stuffed!
July 16th. We scheduled the wainscot tiling after Max's Embry-Riddle summer program. He flew there, Fred and I drove to get him and see the Grand Canyon.
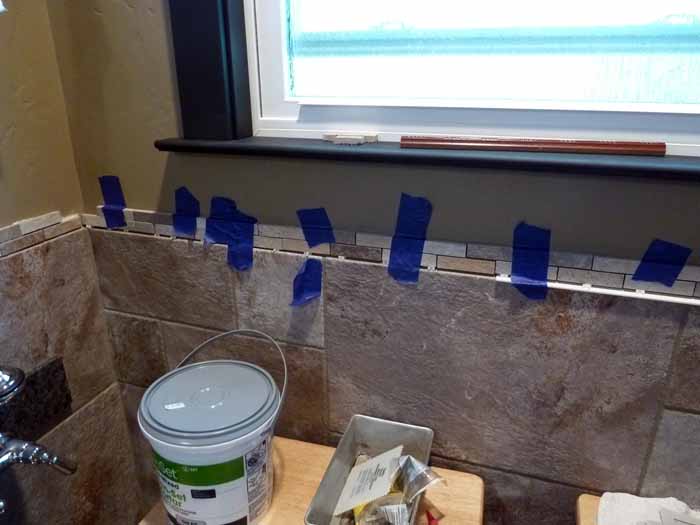
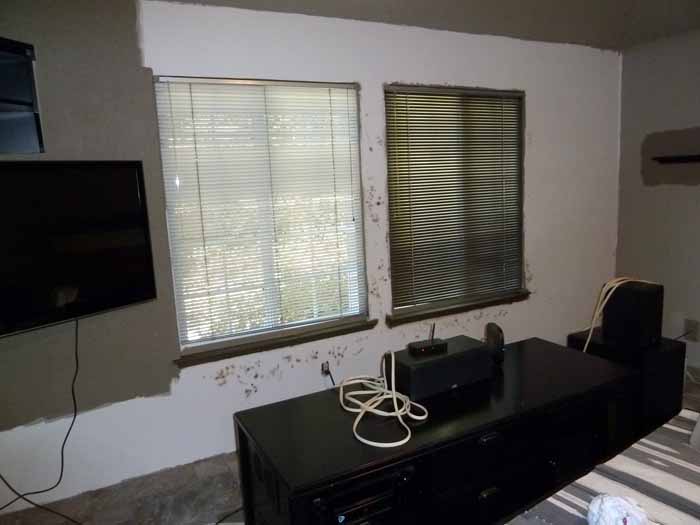
We need a straight wall for the granite top and backsplash; I am adding joint compound to even a dip in the wall and narrow the gap.
Vlad trimmed the tile pieces to fit the vanity.
That black granite backsplash section is the solution to a very poor plumber. See bath page. We decided not to float the walls for the wainscot.
More than ready to get the tub and media center back where they belong.
But first....
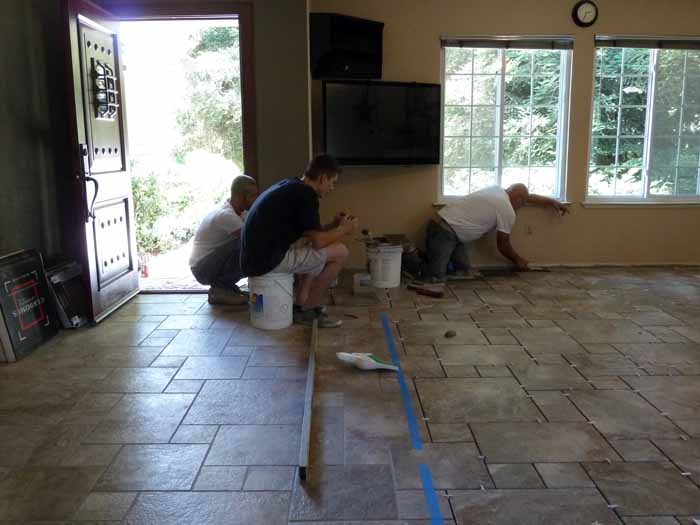
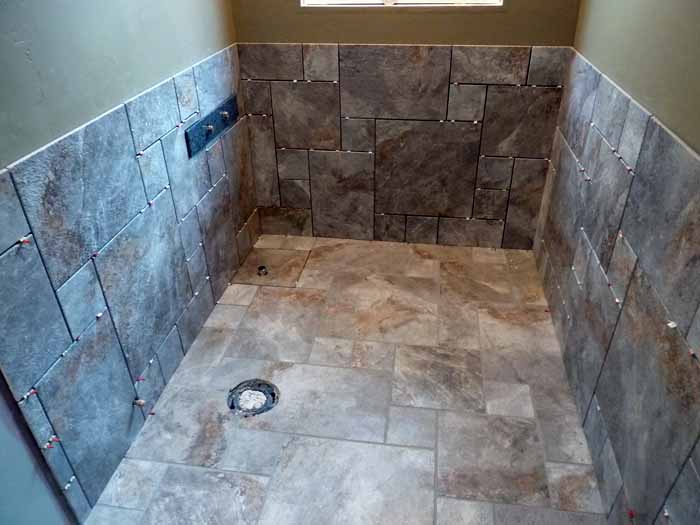
Both Vlad and his son laid tile while the guy in the black t-shirt (quite a guy!) cut tile for both.
The field tile doesn't have a finished edge and we needed to accommodate the height of backsplash of the vanity. We ordered the matching broken joint mosaic mix tile. Three rows stacked behind vanity and two rows around the perimeter worked perfectly. The matching finish pieces would have been another $500, nope. I needed to build up one corner on the window wall to match Fred's perfectly level window.

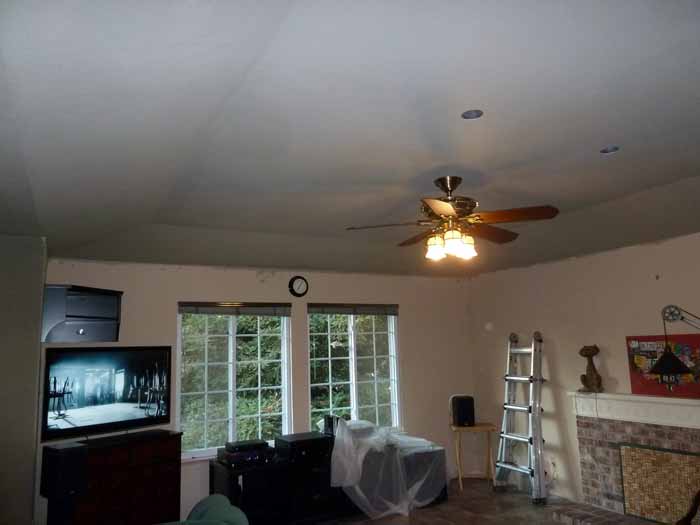
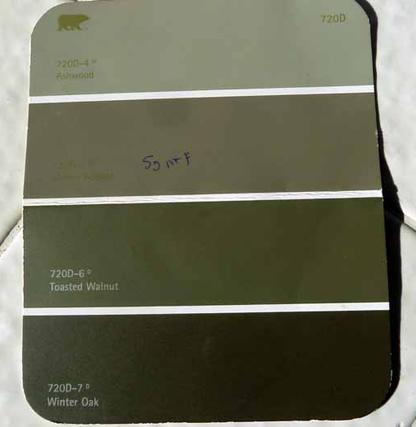
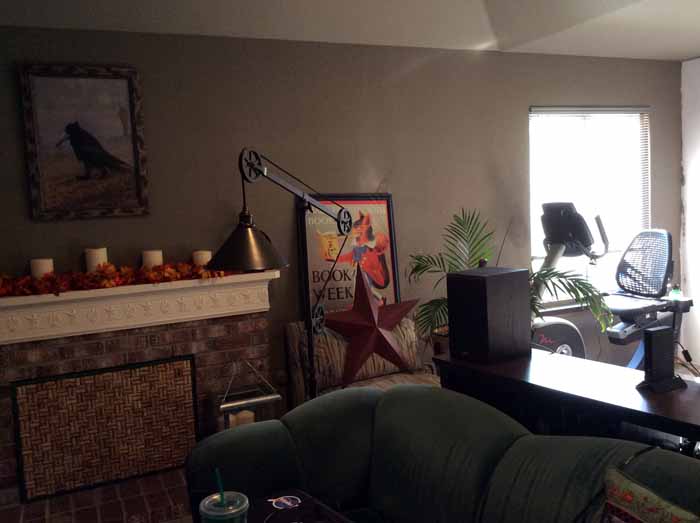

The entry and halls have been floated, textured, primed and painted. The living room ceiling is a light gray color -- Ashwood, top color on color chip below.
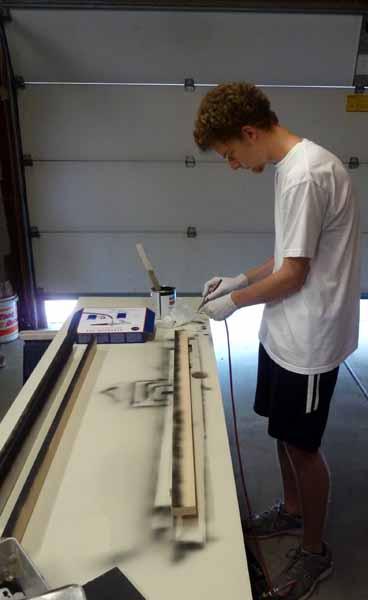
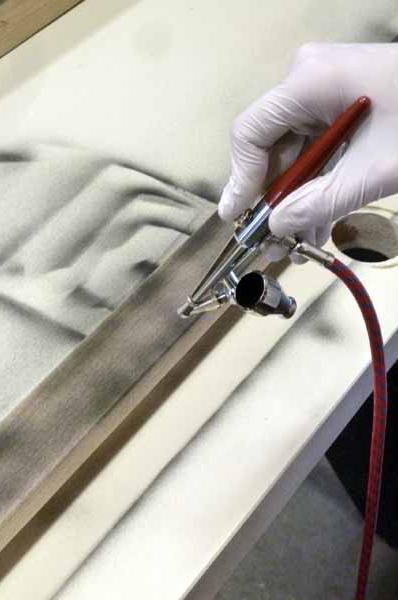
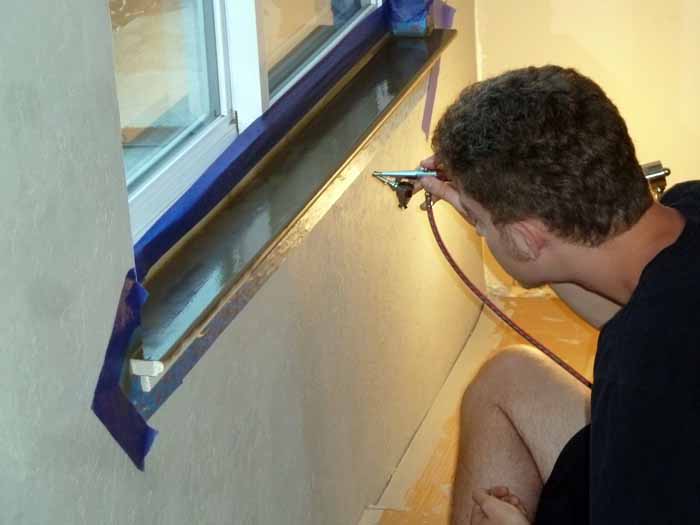
Max airbrushing the window sills "Winter Oak" the bottom color on the color chip. Latex drys fast in the airbrush nozzle, the spots are from clearing the nozzle.
Replaced the halogen strip with LED lighting, now uses less than 45 watts. The Pottery Barn picture hanger is perfect for hanging pictures on pocket door wall.
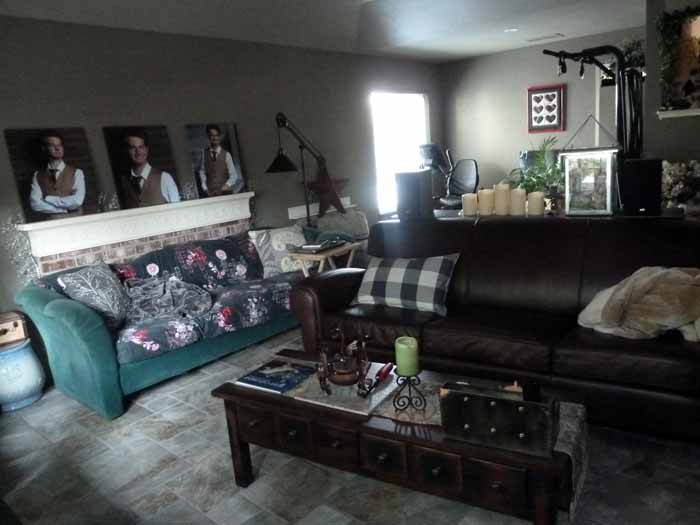
I got a new couch for my birthday, but my 36 year old couch is still in use. Max likes having his own couch while we are binge watching movies.
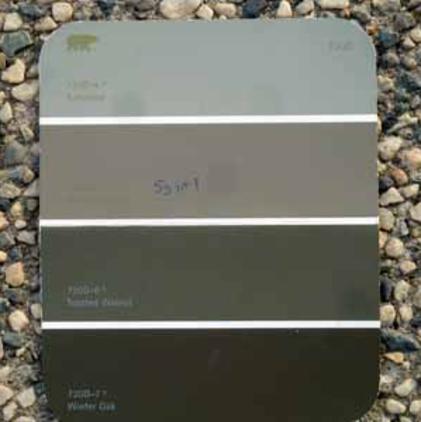
Here is the paint chip in different lighting.
The top is Ashwood, the ceiling & wooden room divider.
The 2nd color is Mocha Accent, the walls of hall, entry & living room.
The bottom color is Winter Oak, the window and mirror trim.
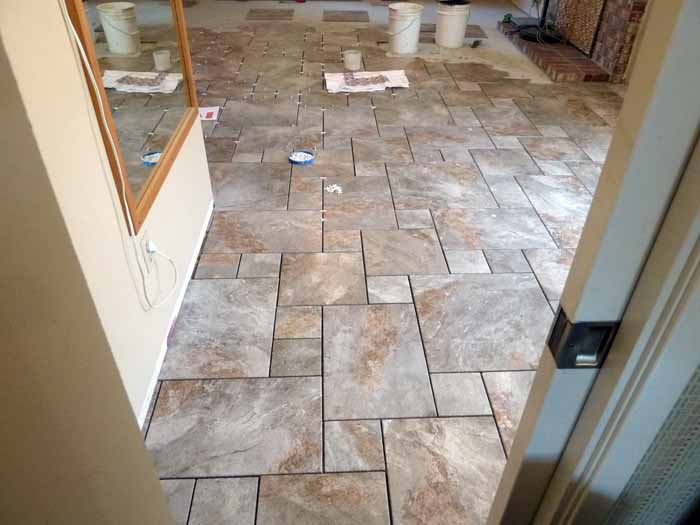
Vlad laid both hallways and entry. As always, a superb job.
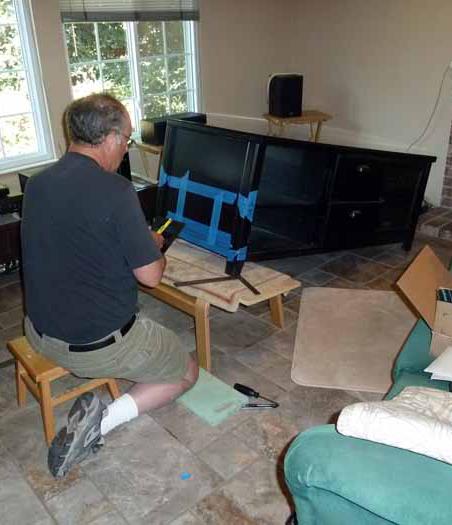
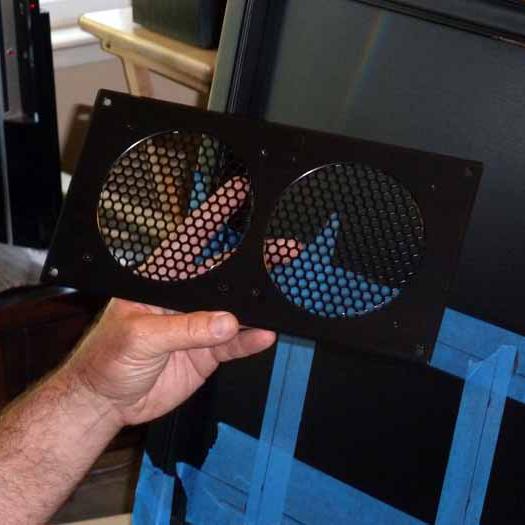
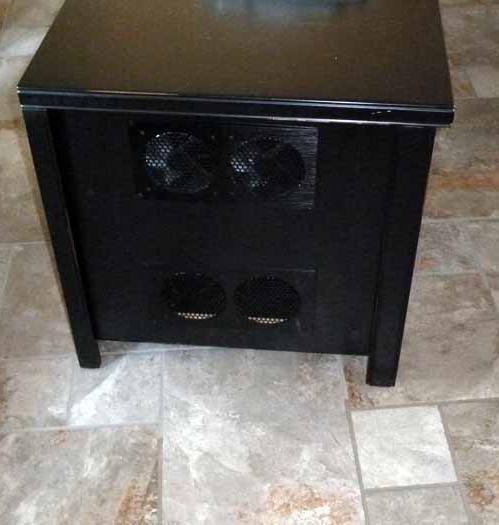
Before the media cabinet was put back in place, Fred modified it for temperature controlled fans and vents. The amplifier side, which gets the hottest, has dual fans and the temperature probe. The PS3 side has a connected single fan and dual vents. As the temperature rises, the fans kick on automatically and shut off when cool.
I added black galaxy granite pencil tiles as a finished edge. The light switch and outlet is at correct height (see bath) and no gap between wall and backsplash. Fred rented a tile cutter and mitered the granite tile corners.
Max is very skilled at using an airbrush, but we could use something between this and a large sprayer. There is a lot of door trim, plus doors, to paint yet.
Here's an early look at my cart and scaffolding.I got tired of lugging around 62 pound joint compound buckets and paint buckets. I had the new drywall primer tinted gray to give the final paint coats better coverage.
I found the last of the 80's salmon color under a mirror. The tan color was from 2005.
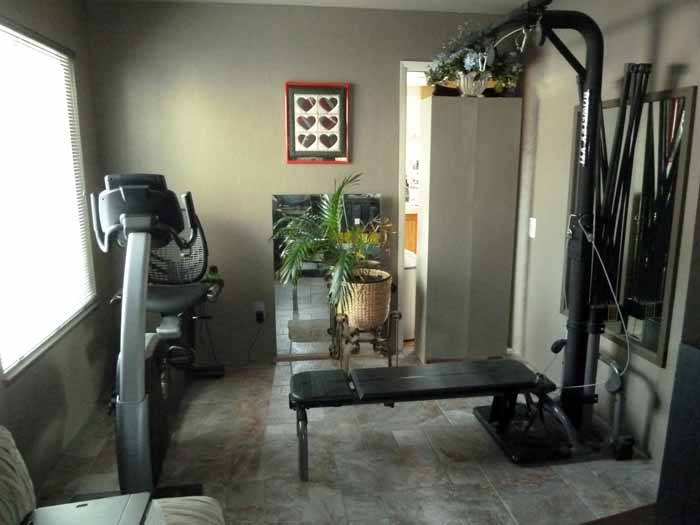
The exercise area is less cramped.
We don't have a pantry in the kitchen and very few cupboards, so we have to use an inexpensive fiberboard pantry. It used to set in the living room.
We now have the "pantry" positioned in front of the pocket door so it can be accessed from the kitchen, no more walking into the living room for a can of soup. I painted it the wall color.
We are thinking of making permanent pantry and frig bump-out when we remodel the kitchen.
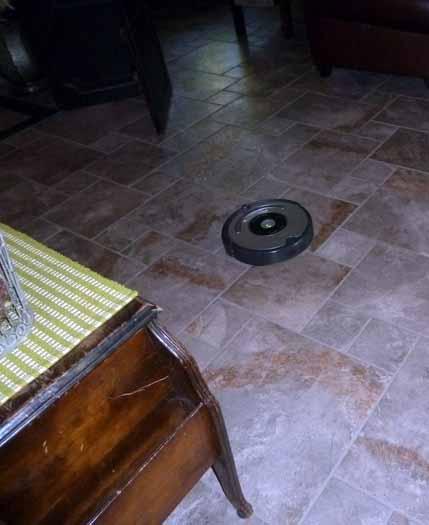
The iRobot Roomba vacuums the house on a daily basis, it recharges itself. I just need to empty it's bin.