2015
Bath Remodel


When we upgraded all the windows to an energy efficient design in 2000, they couldn't replace very narrow windows, so this bathroom window and the sidelight were the last of the original aluminium framed, single-pane windows. We ended up with a crappy, untruthful sales rep and crazy expensive window.
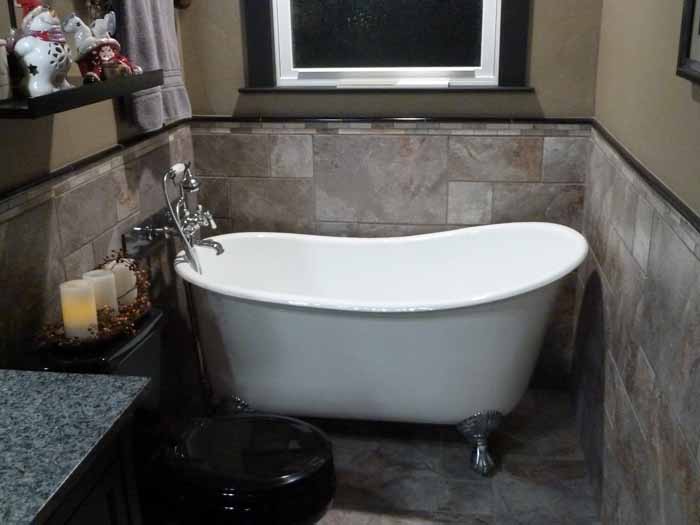
The new window changed dimensions and configurations a few times. The garbage/recycle/leaf bins are located under the window so we were limited to the sill position. First, we decided on a sliding window as wide as the old one. After talking to the siding manager who has a cast iron tub, we were convinced to get a double-hung window, that way the top can be opened to vent the room and still have privacy. Finally, we narrowed the size to accommodate the train towel rack but lowered the sill as much as we could and still hide the bins. Fred added blocking in case we add a handrail above the tub.


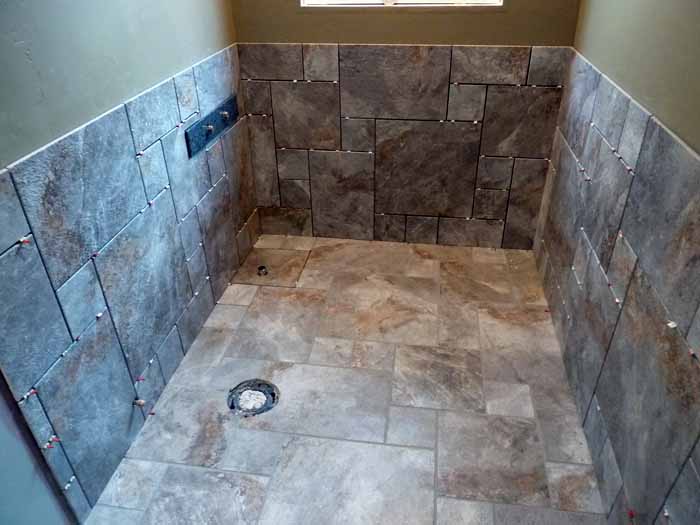
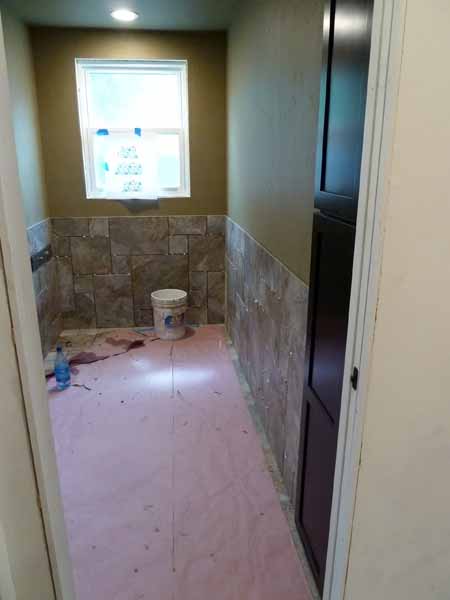
June 3rd, floor is tiled, now we can fine-tune the wainscot height.


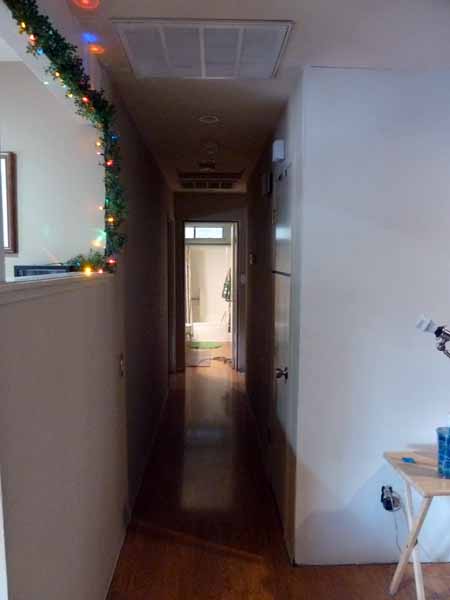
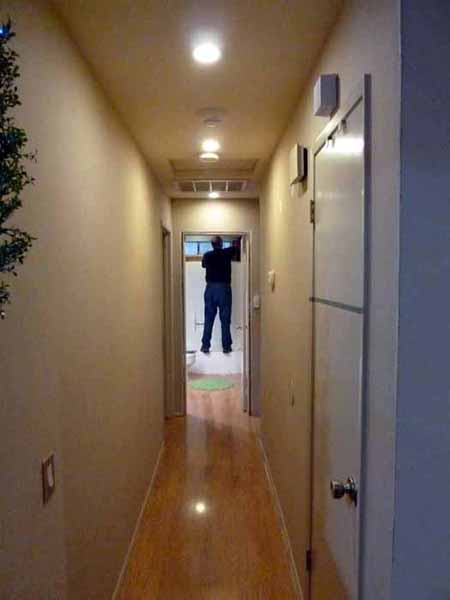
This bathroom remodel was another project long overdue. When we planned on tiling the entry and hallways,
we decided to continue the tile into the bath and upgrade the vanity, toilet and tub.
- The toilet was seeping slightly under the laminate floor.
- The original low quality vanity was beyond any refinishing or painting.
- One wall had peeling wallpaper from cats peeing on a seam.
- Inefficient, narrow, single-pane, aluminum frame window needed replacing.
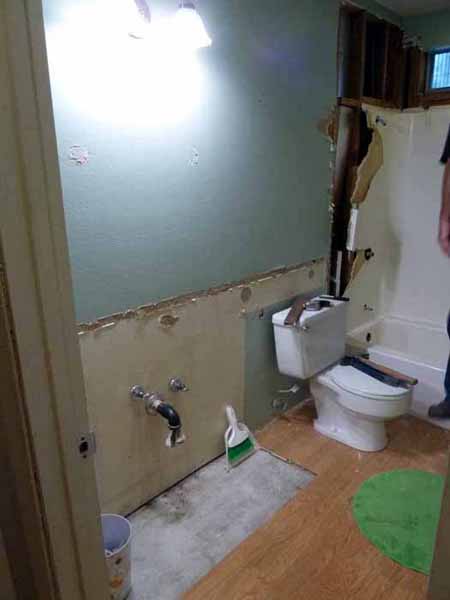
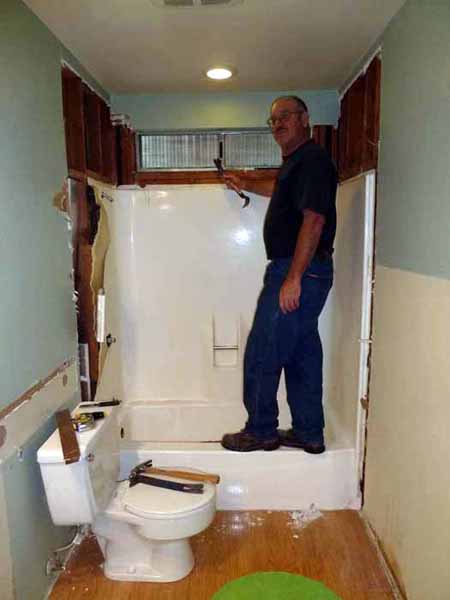
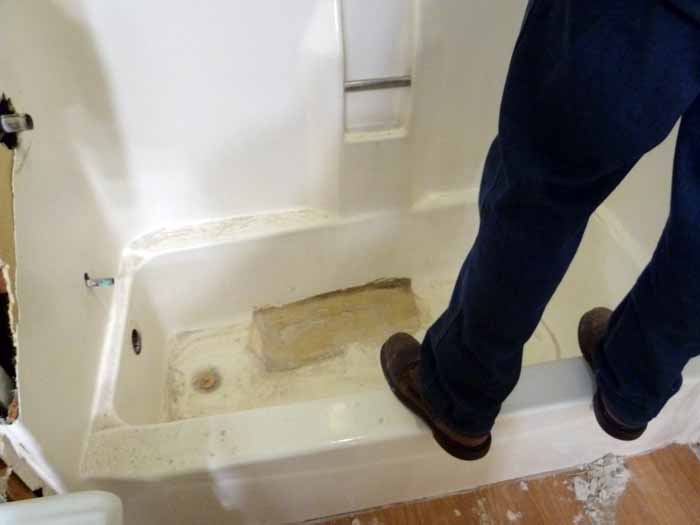
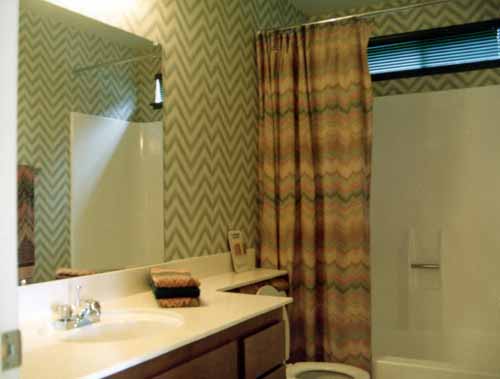
- Yet the worst component was the fiberglass shower/tub. It had previously split open and the repair job was failing. The bottom felt spongy and unsafe and hadn't been used since 2011.
1980's
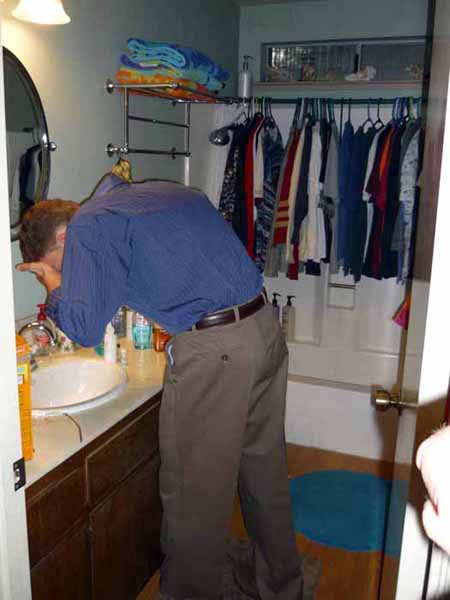
I didn't take a before picture; this is the only picture I could find of Max putting in contact lens. The tub was holding Max's clothes during his room remodel.
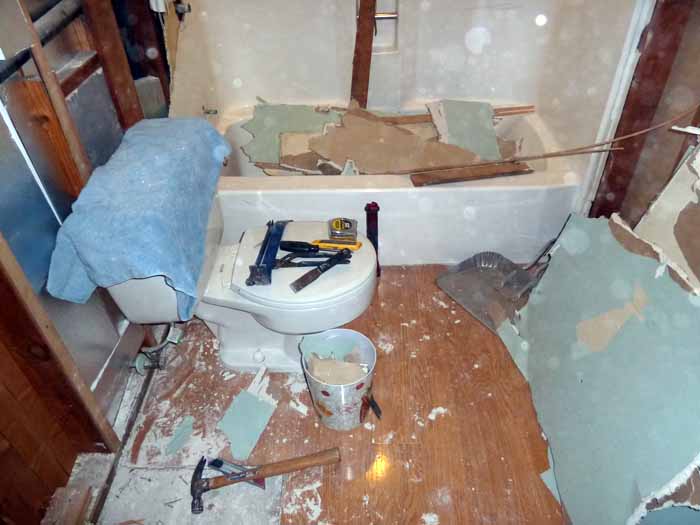
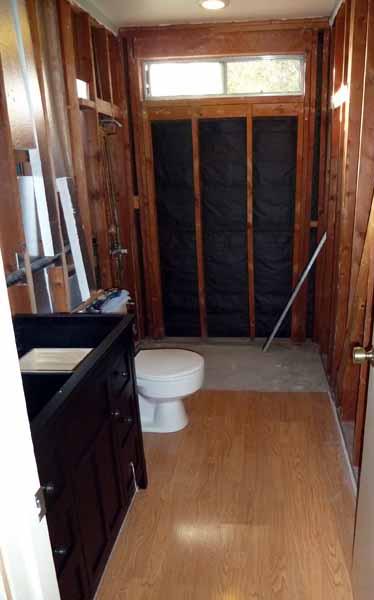
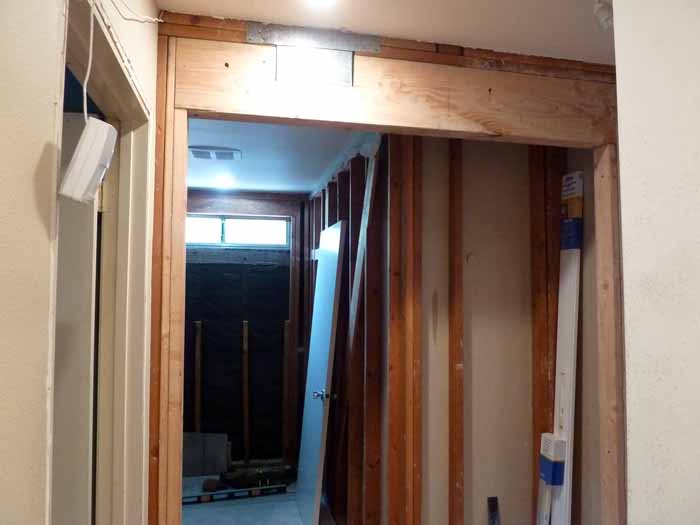
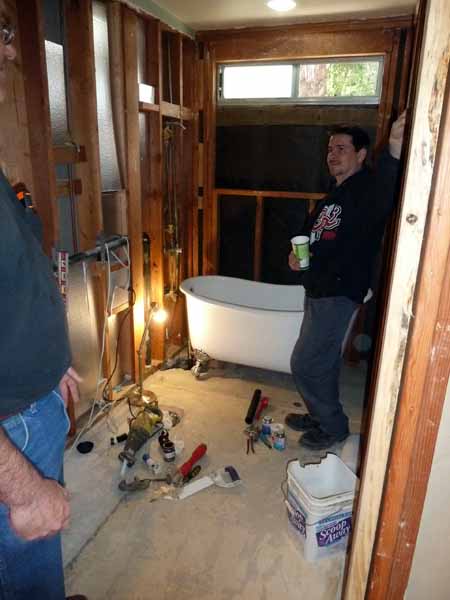
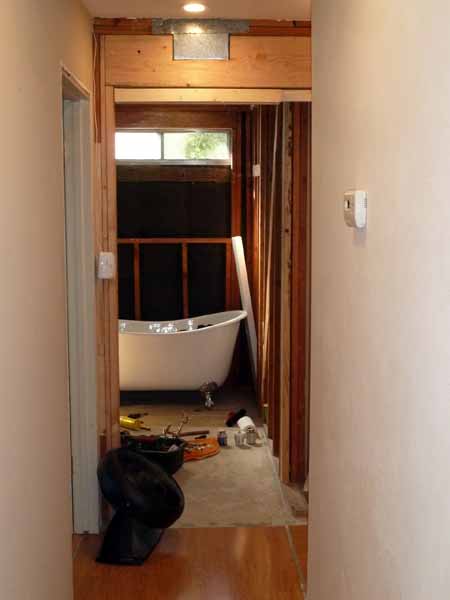
We began the demolishing in early January. We determined a pocket door could be installed if we moved the linen closet opening from the back hallway to inside the bathroom, creating bath storage. Since we had a great master shower, we decided on replacing with a free-standing deep tub and enlarging window.
The original 1979 vanity, out-of-code toilet, shower/tub and window would be replaced. We would keep the medicine cabinet, mirror, light fixture and towel racks.
We had cracked through the bottom and did a fiberglass repair but even after a can of expanding foam, the tub remained soft and spongy.
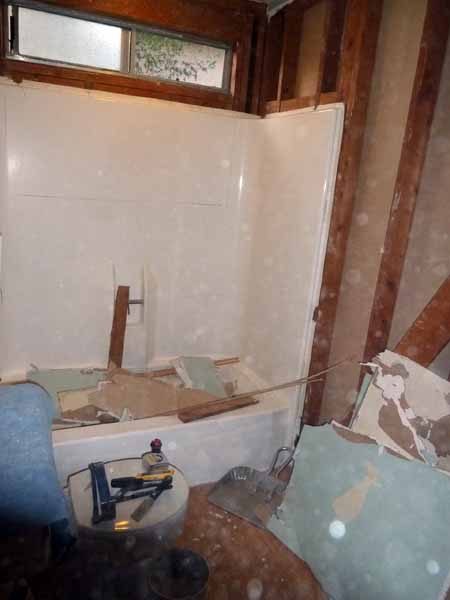
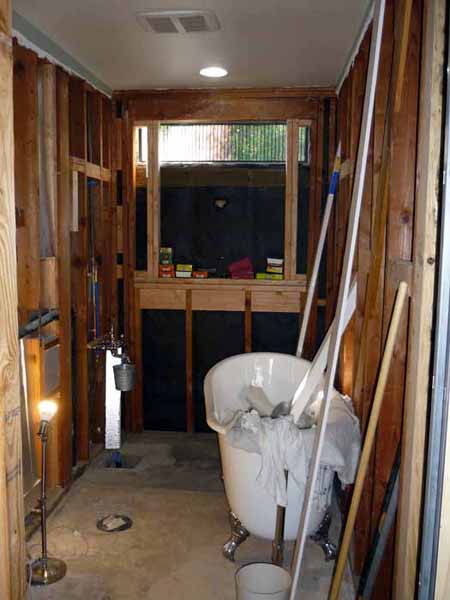
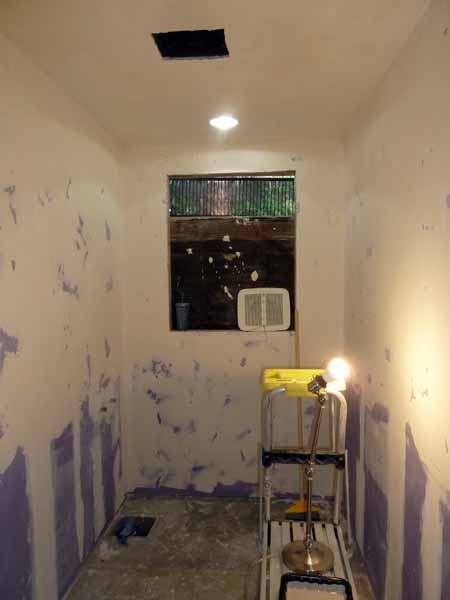
We pulled old sheet rock so we could add insulation, more for soundproofing than insulating.
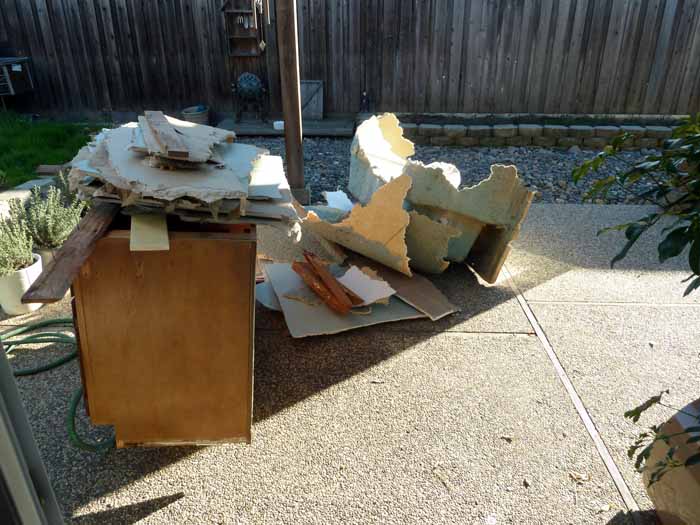
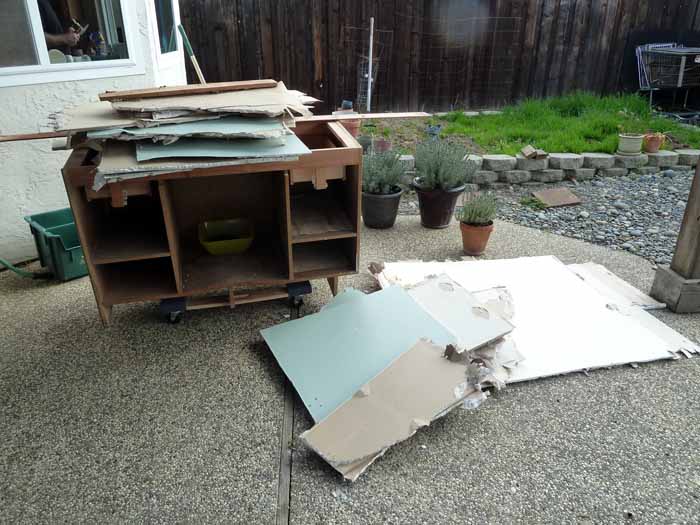
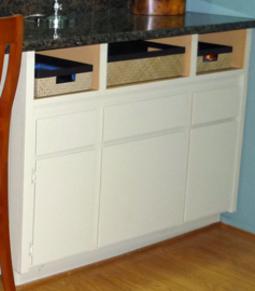
This vanity was beyond salvage. We re-purposed the master bath vanity into storage/desk for the office (inset picture). Not this one!
Particleboard furniture is said to last 2 to 5 years; this was 35-years old. The veneer couldn't be sanded or stained.
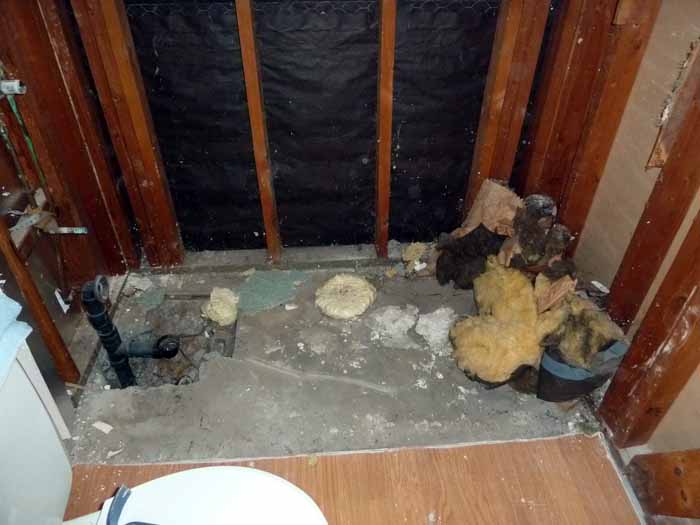
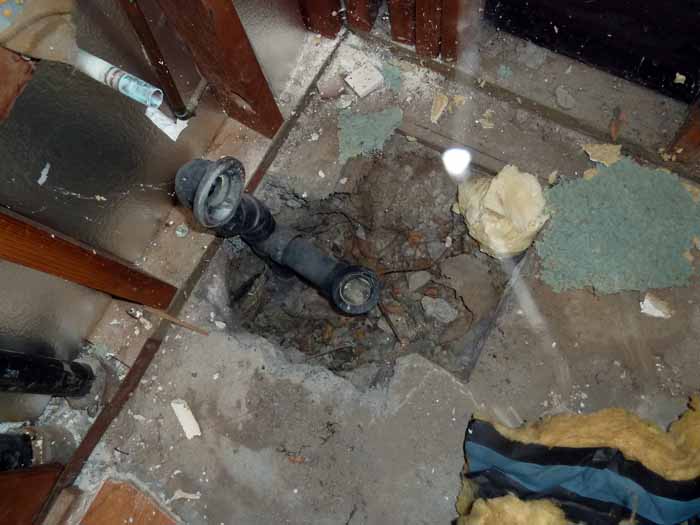
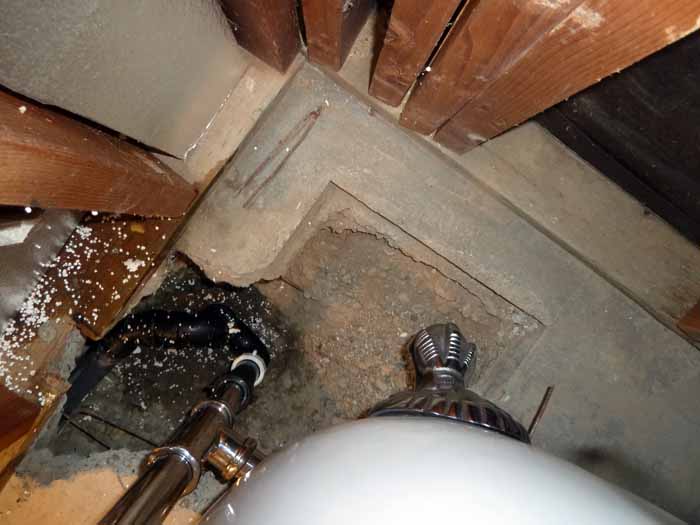
The fiberglass tub was actually disintegrating. We were able to grab, twist and break it down BY HAND! The shot to the left is what was undisturbed under the tub when we lifted it out. When the tub bottom softened and cracked, Fred shot expanding foam into the crack to firm up the bottom. (The yellow blobs) There was no mortar bed or bracing under the tub. All the insulation had slid down the walls and was piled up to the rear of the tub. We could barely carry it out, it was so fragile. The configuration of the side of the tub and the overflow/drain were the only support!
We had severe flooding in 1997; the water level in Natomas came way up. It was halfway up the driveway plus the overflow of water backed up the sewer. I think the water must have come up under the tub unit, high enough to wet and pull the insulation off the walls and push it to the rear. Did it also scour out the mortar bed?
January
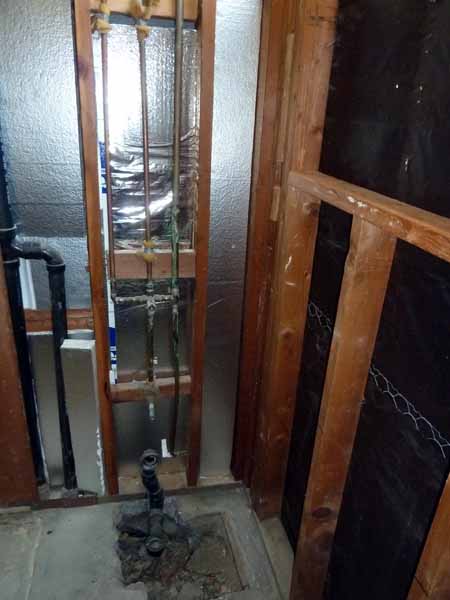
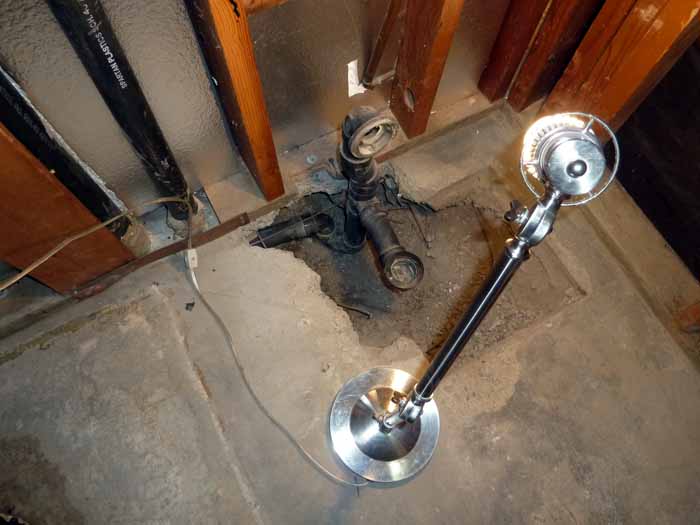
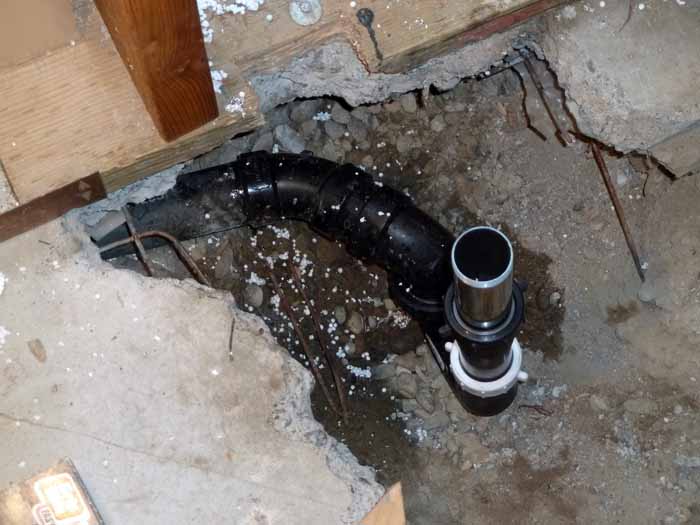
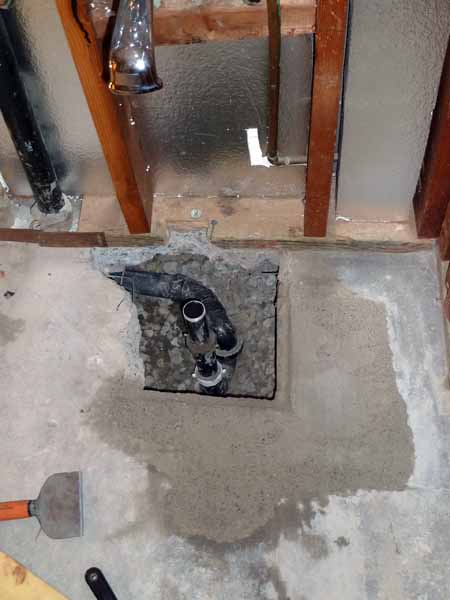
The builder missed the plumbing cutout by half a foot. I could reach under the slab as far as my arm could extend. That had me worried, but plumber said that was ok.
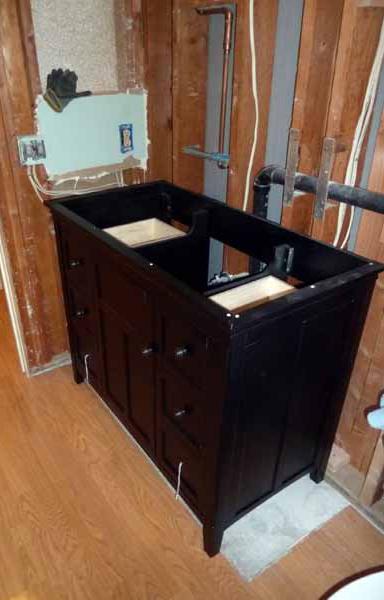
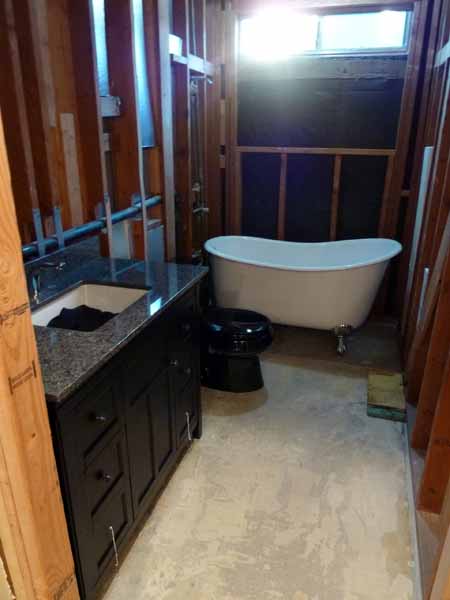
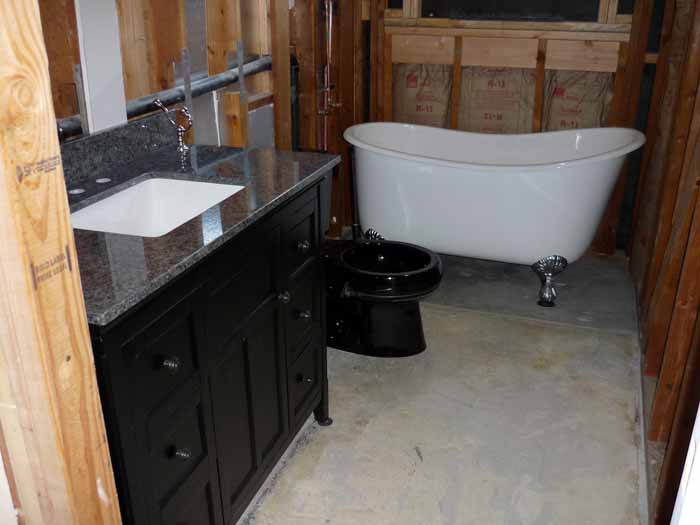
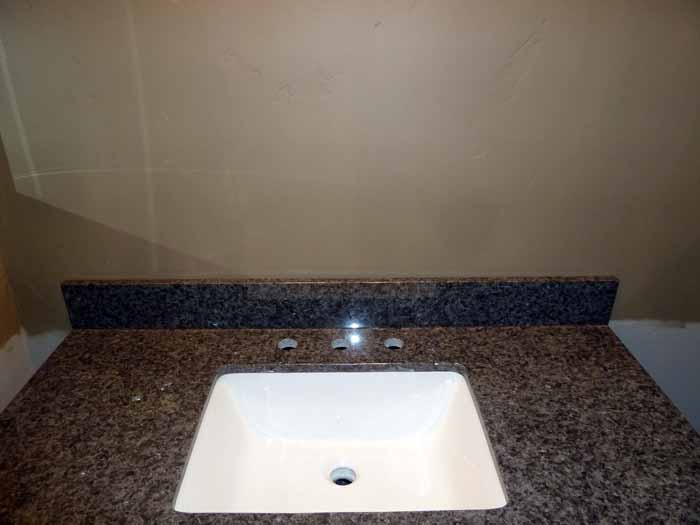
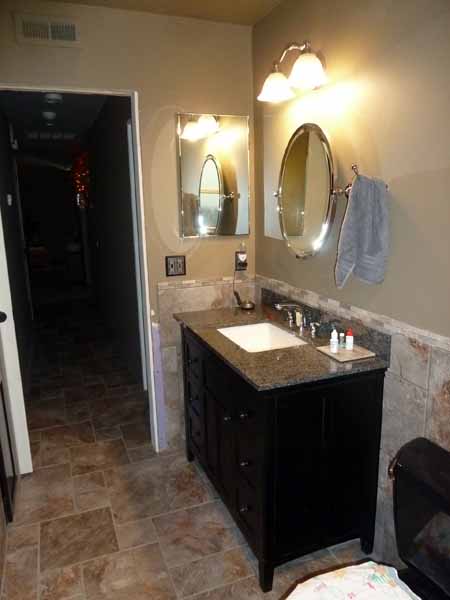
I ordered this granite-topped vanity and Hansgrohe lav faucet from Costco online. It has a granite top with installed sink and made of solid wood. First dry fit, it's narrower, but deeper and taller. Centered under the light fixture, it will have a space on the right. I liked the sink, a square-ish deep basin instead of round and shallow.
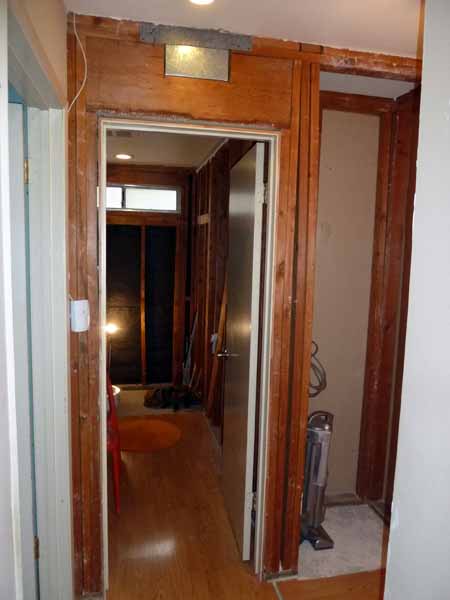
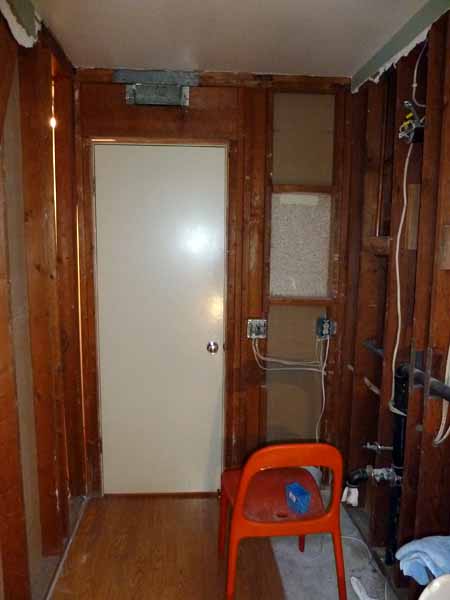
Stripped-down bath and the hall linen closet doors and shelving have been removed. A new opening for a bathroom closet is defined.
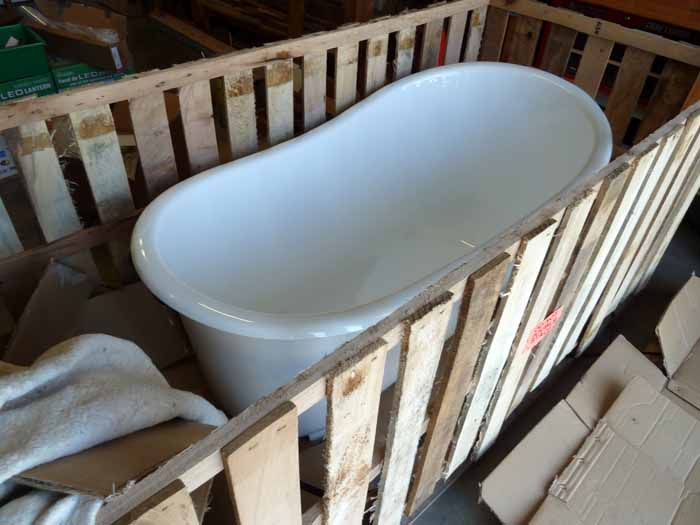
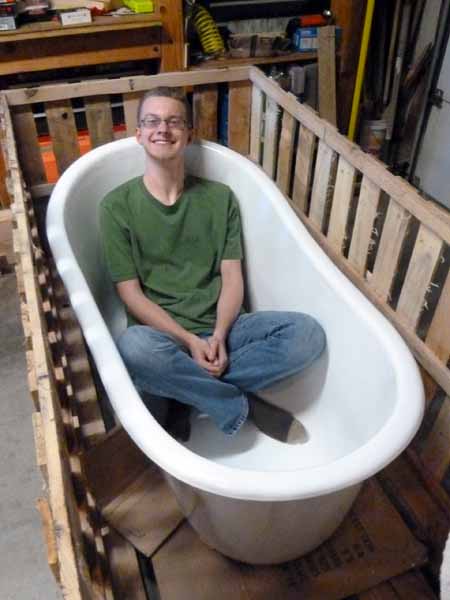
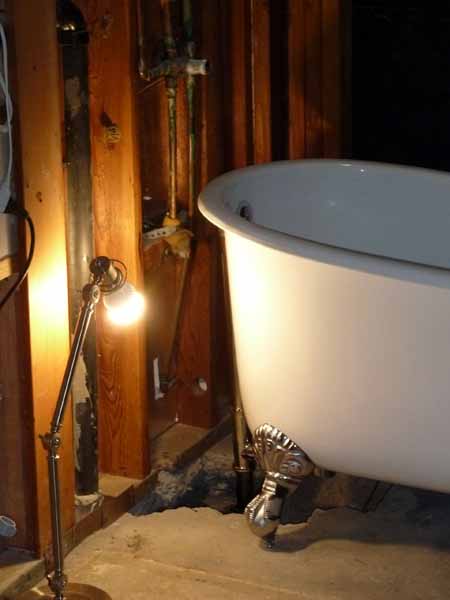
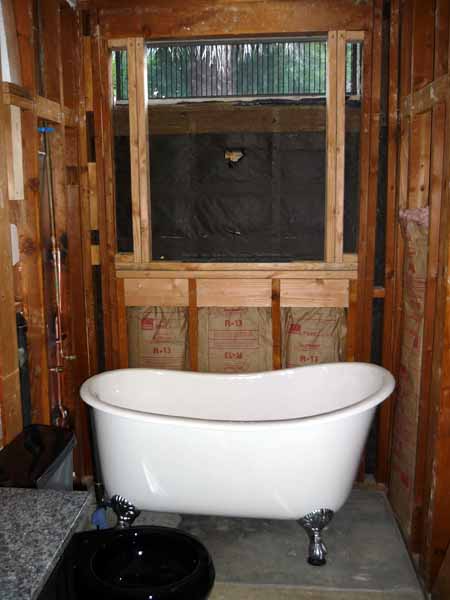
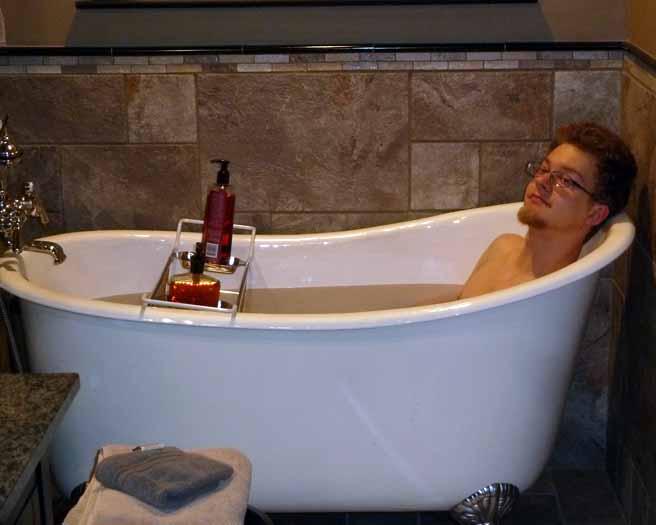
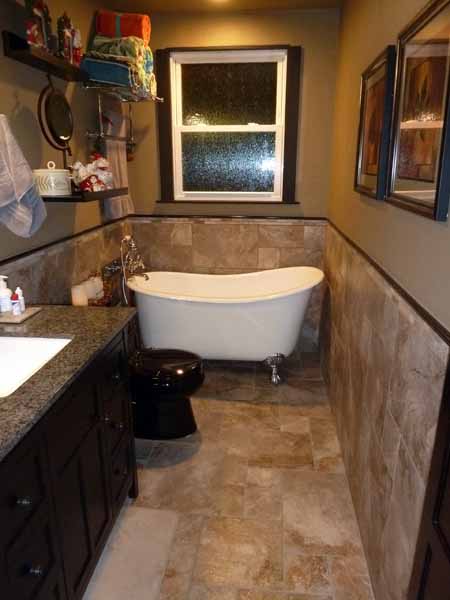
This a Swedish Slipper Tub, it's the deepest cast iron tub made at only 53" long. From bottom to overflow, there is 19"; our old tub was shallow at 13/14" to overflow. Max is 6'1" and can sit with the majority of his long torso under water! It's heavy cast iron, crated 496 pounds. Purchased online at Classic Clawfoot Tubs.
We moved the motion detector wiring from closet to the corner, now that we had access. Fred has pocket door header installed and window framing begun.
February & March
We had checked out all the area tub stores for a replacement tub since the fiberglass had cracked when Max was in grade school. Out of warehouses full of tubs, normally only 2 or 3 models were carried that would fit the 59/60 inch space and those had very shallow depths. On-line shopping + shipping become only option.
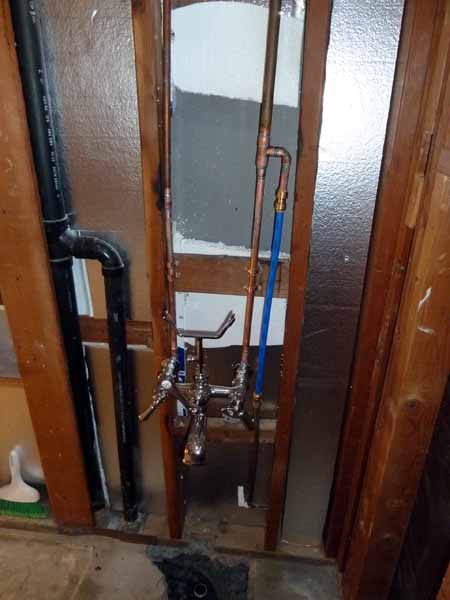
NOTE: GET A GOOD PLUMBER! We ended up getting in a 2nd plumber to correct the first plumber's "choices." The plumber recommended the the concrete be chipped away along pipe so a new p-trap could be installed for the tub. I did that the night before he was scheduled but he still charged for that + Fred's concrete work.
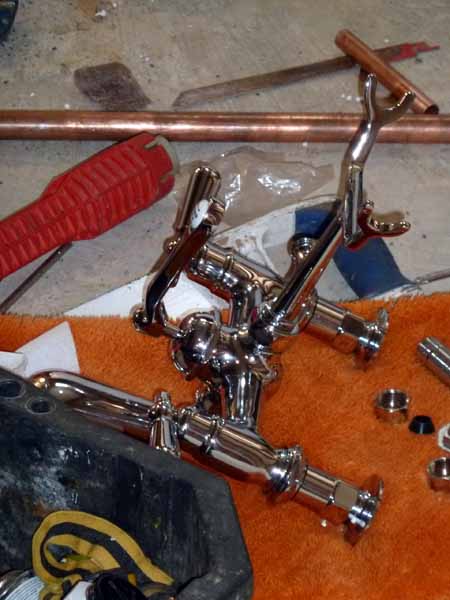
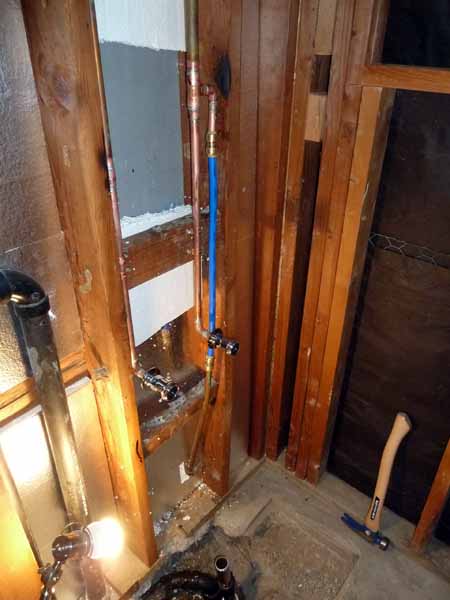
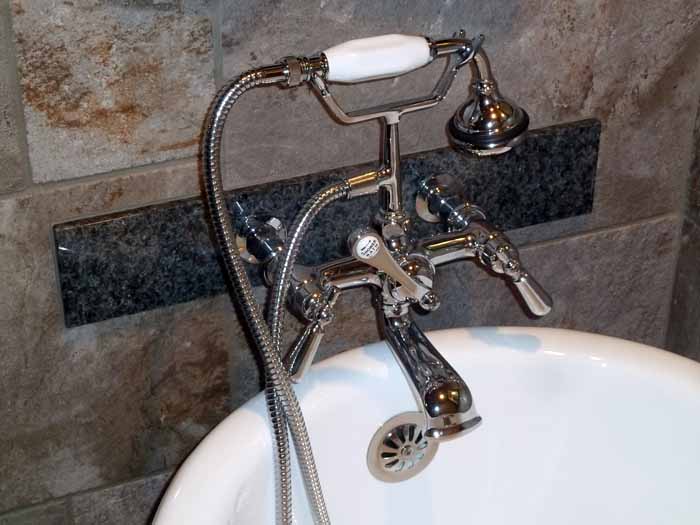
Plumber came in, drank a lot of coffee, cut away the old shower piping and old p-trap. He added a pex pipe to the cold supply to the supply for the master bath toilet. He couldn't figure out the $470 plumbing hardware for the wall-mounted faucet and engineered his own supply. The faucet hardware, properly installed, can accommodate any wall width. His way, we needed an exact measurement. We chose a reputable plumbing company, but got a dud. I was glad Fred was helping with the measuring.
Since the plumber couldn't figure out the hardware and wanted to cut the pipe connections to a specific length, we checked with Sergey who gave dimensions for a mortar bed tile job. Eventually, the tile would be applied directly to the wall and we would have to compensate for the difference.
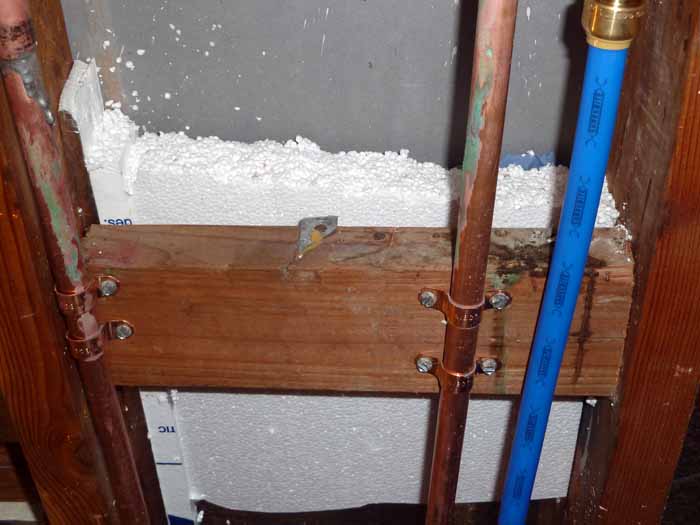
We talk the pex application over with another plumber and had him replace with copper pipe. Fred made a wooden form and patched the concrete cutout. We worried that the inspector for the siding and door would see this bath remodel. We did not pull a permit for the full bath. We expected the plumbing company to pull a permit, they did not.
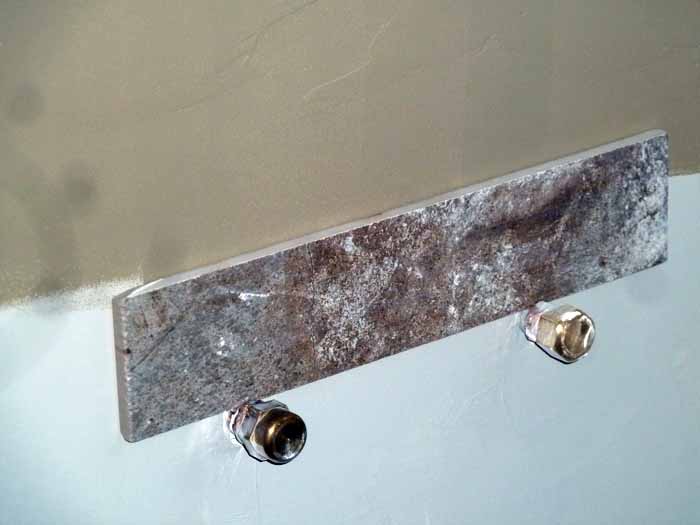
If the plumber had installed the copper pipe to the threaded insert, the wall extensions could have been adjusted to the depth of the wall treatment.
I felt very uncomfortable about the pex being walled up since both sides of the wall are tiled. Leaking fittings would be a catastrophe. Another plumber said if the pex isn't necessary, it shouldn't be used. The plumber seemed lazy and sloppy; we decided we would handle cementing the cutout properly, and avoid issues for the tiler.
Siding and Front Door installed at this time. Next step...walls & window!
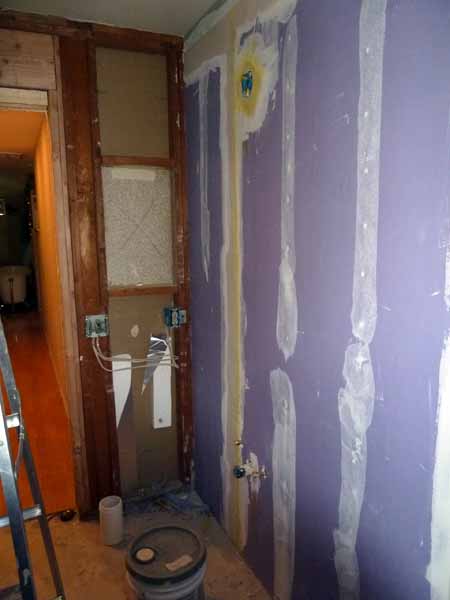
I ordered a low flow toilet from Home Depot (1.6 gallon flush) and applied for a water saving rebate which covered most of the cost. We did another dry fit. Fred moved the vanity light as far as he could towards the left. It had been centered for a wider vanity, but we could only move so far, since master bath plumbing is also in that stud section. Fred added blocking for bath hardware. We used all existing hardware, except for the faucet, which had a new configuration. **Note:missing something here**
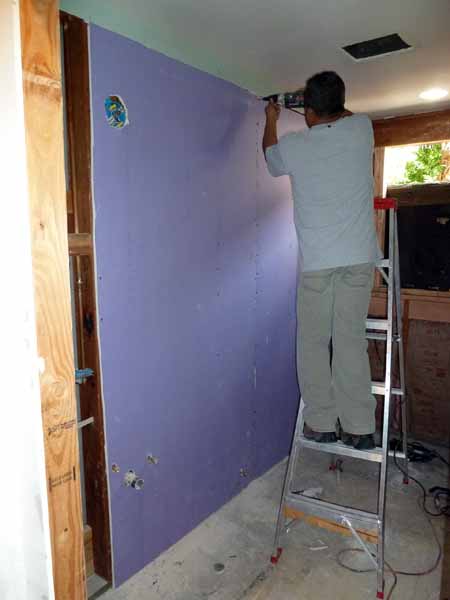
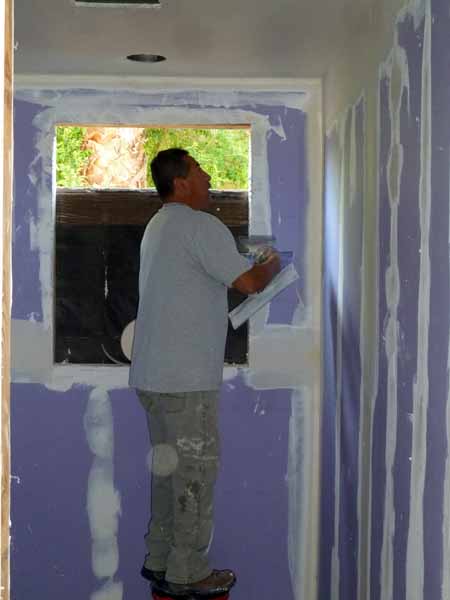
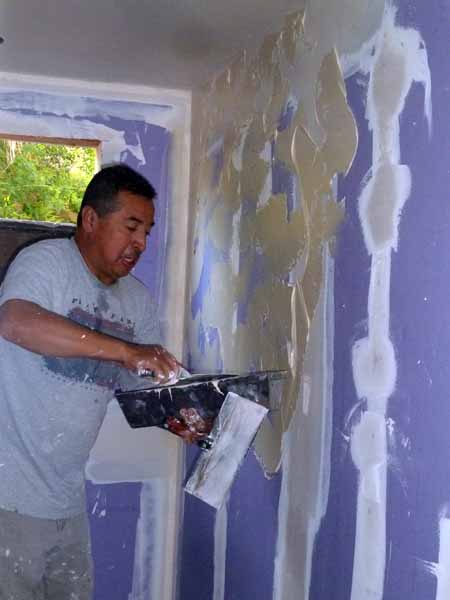
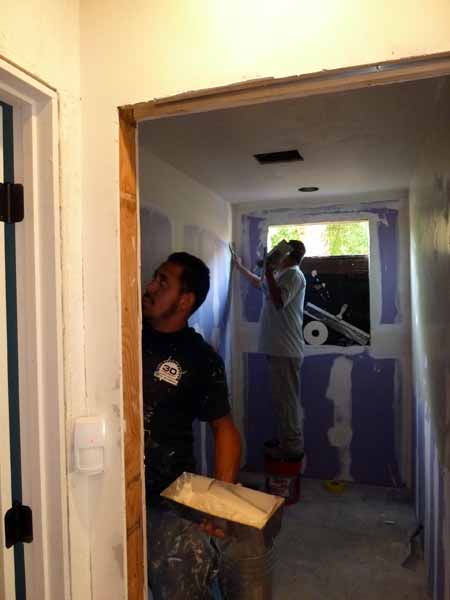
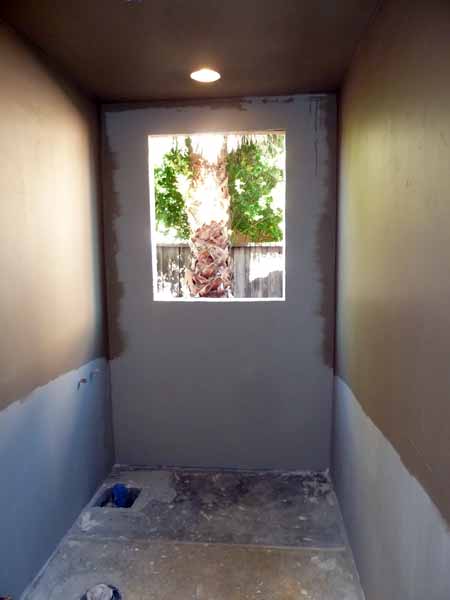
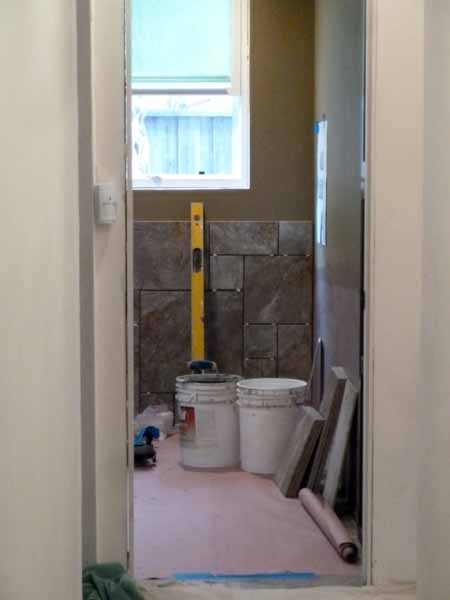
Time to wall it up! Wallboard installation and texturing done in an afternoon. The stucco hasn't been cut to form the window yet.
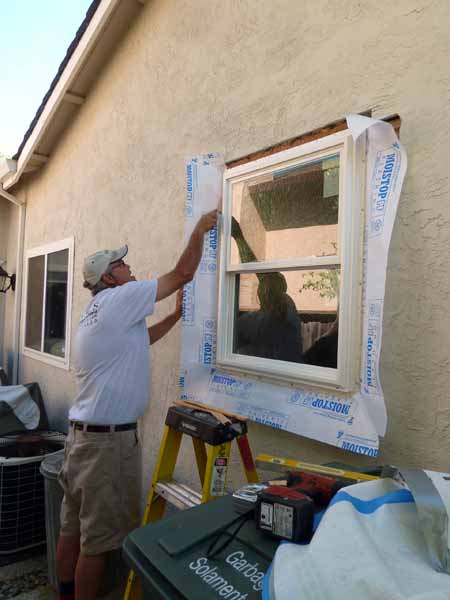
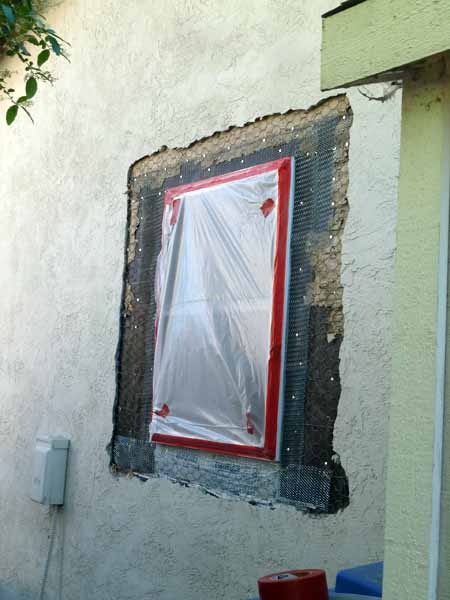
They have to blow out at least six inches of stucco, add new flashing, tie in old flashing, add a layer of mesh.
This is why the window is so expensive. We are now required by code to do a lot of stucco work instead sealing the flange over the stucco.
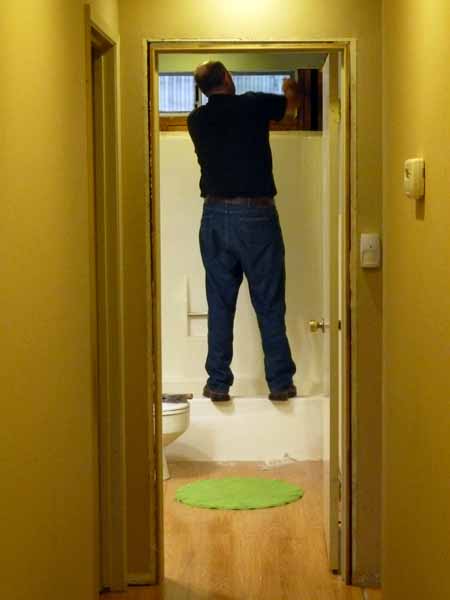
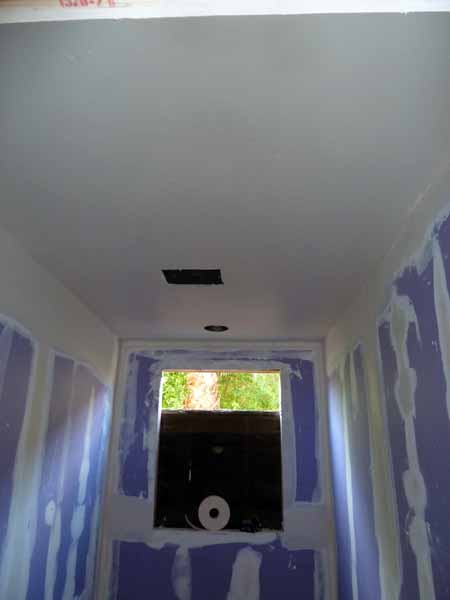
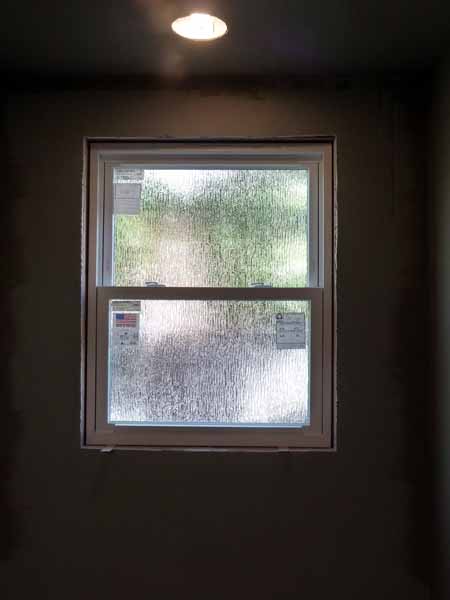
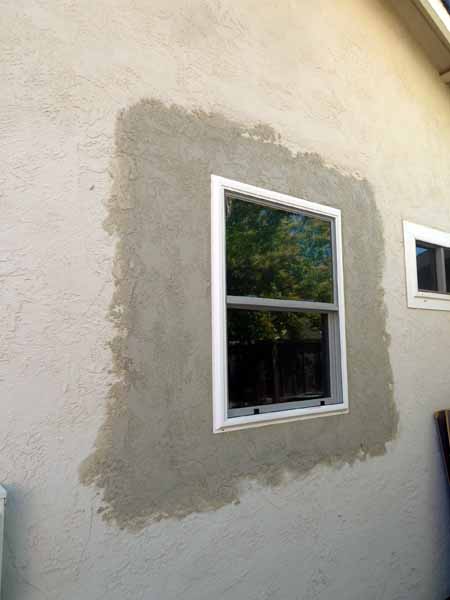
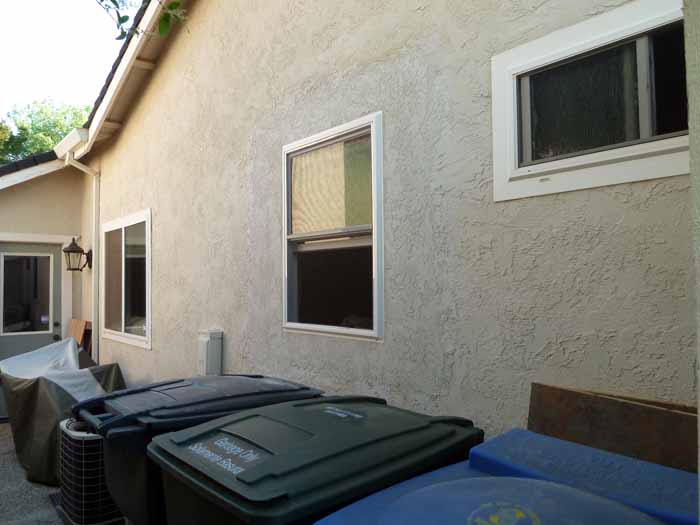
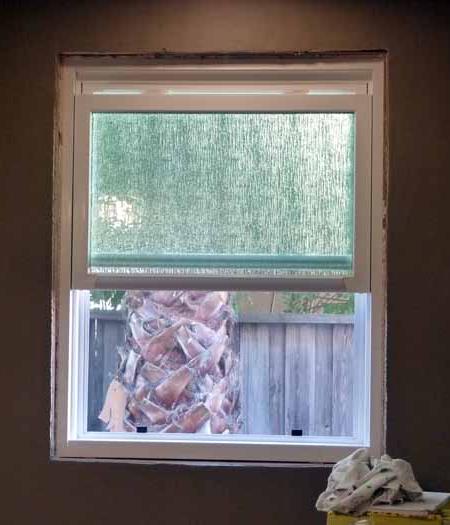
The window goes in, we chose obscure glass in the "rain" design, the same as the master bath window and door. It really sparkles in the sun, no curtains needed here.
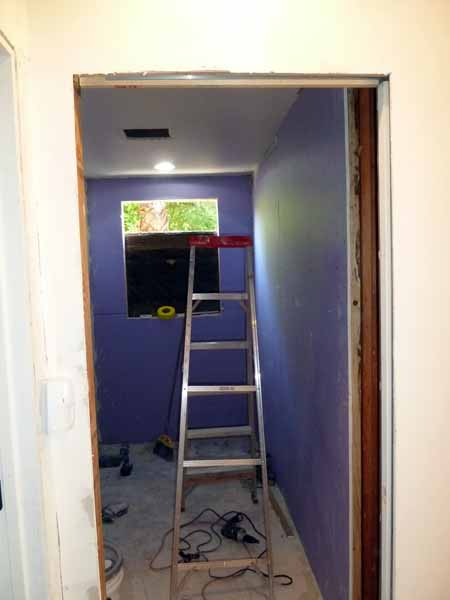
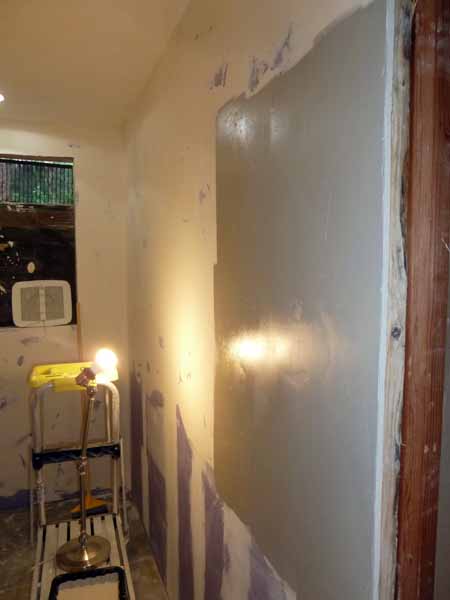
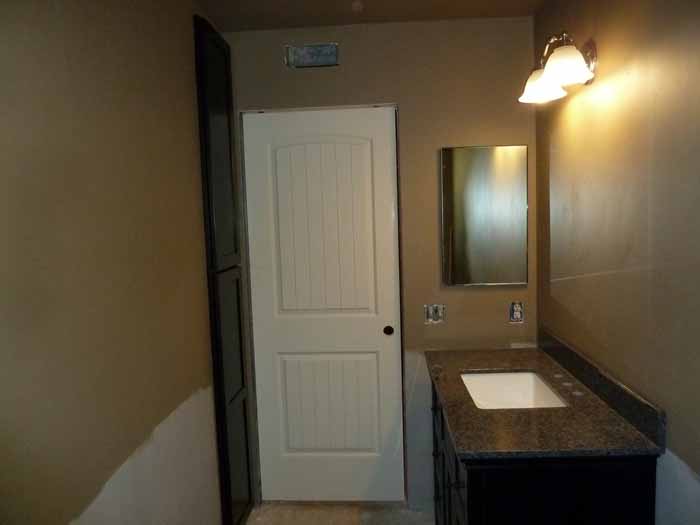
In the process of priming before "Mississippi Mud" paint
We chose an imperfect smooth texture like the master bath. It works very well in a bath. New drywall primer paint being applied before the final paint coats.
The space always looks a little smaller when the sheet rock goes up, but it is suddenly a room! The wall cavities are insulated with the insulation left from the siding job.
We have a lone palm tree for our view. The neighbors had a lot of foliage just on the other side of the fence, but trimmed it all down shortly after the window went in.
I'll need to plant some interesting plant to hide the fence and the side of their house. Bougainvillea?
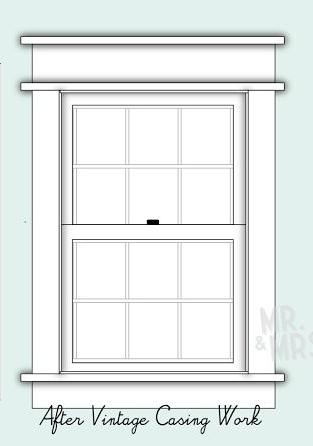
We chose a Craftsman style for the window and door trim. The vanity and linen closet have the same clean look. We know we will have problems with trimming the doors, so we are trying to keep it simple.
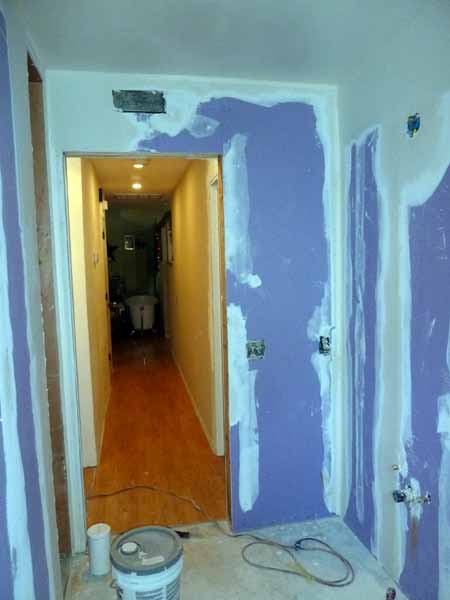
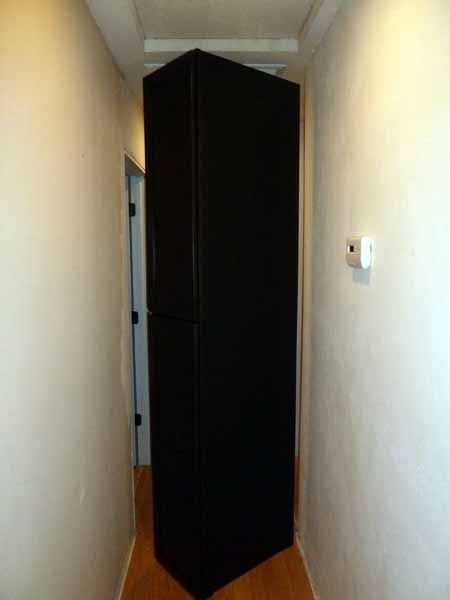
The linen closet is heading down the hallway.
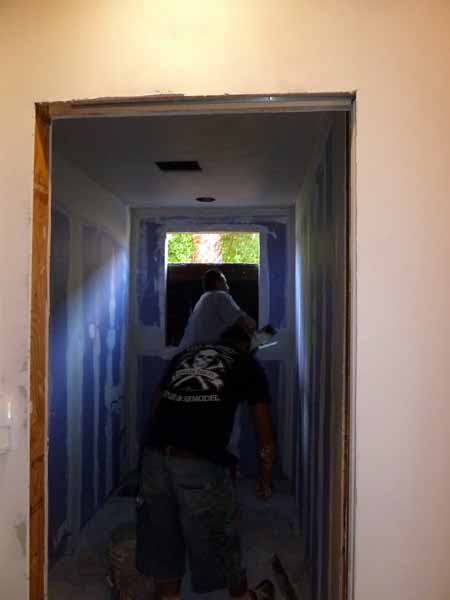
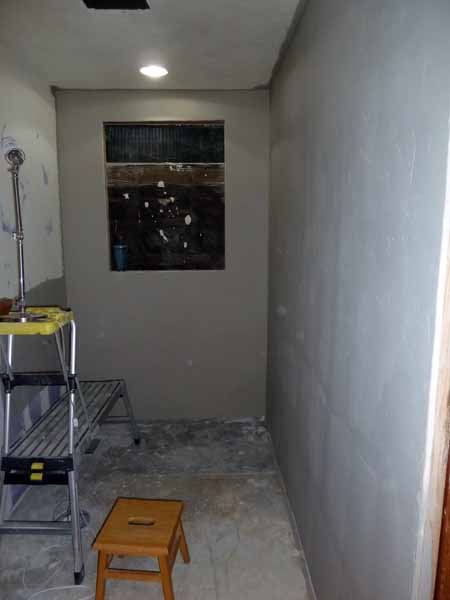
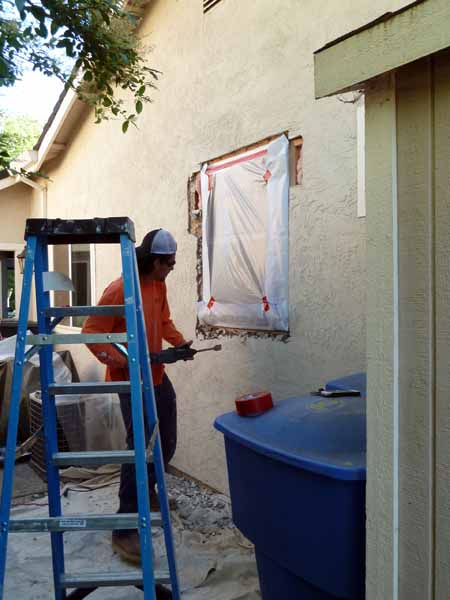
Fred has cut the stucco. Let there be light!
April
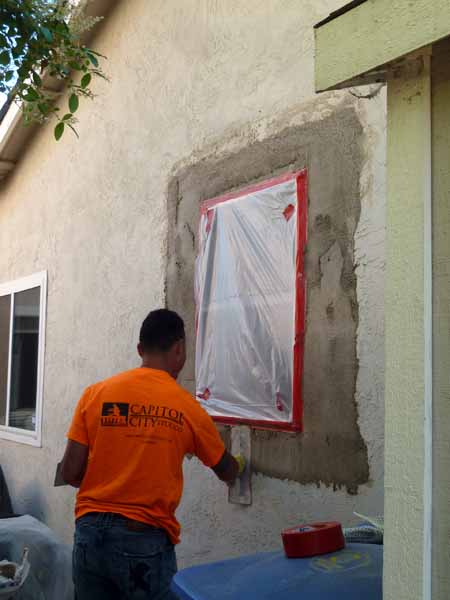
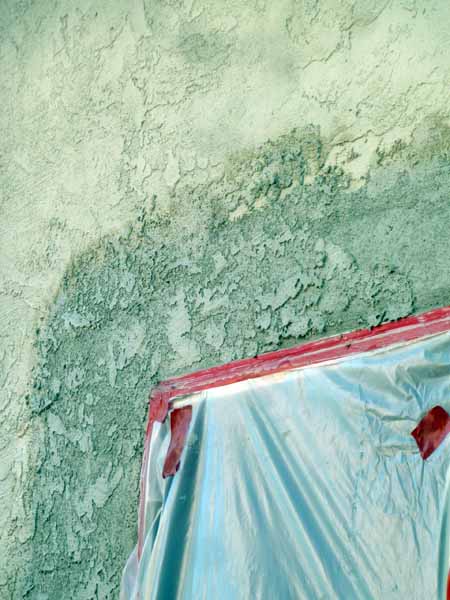
He did an excellent job of the stucco work, matching up the texture. The window company was very insistent on permits, yet no inspection was ever done. Racket??
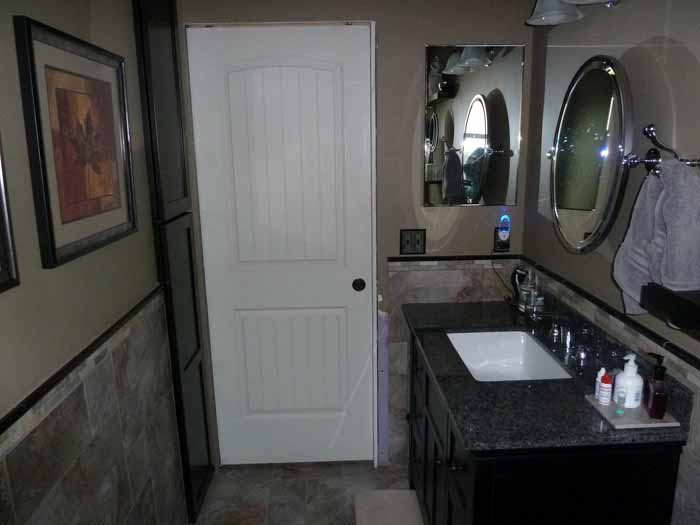
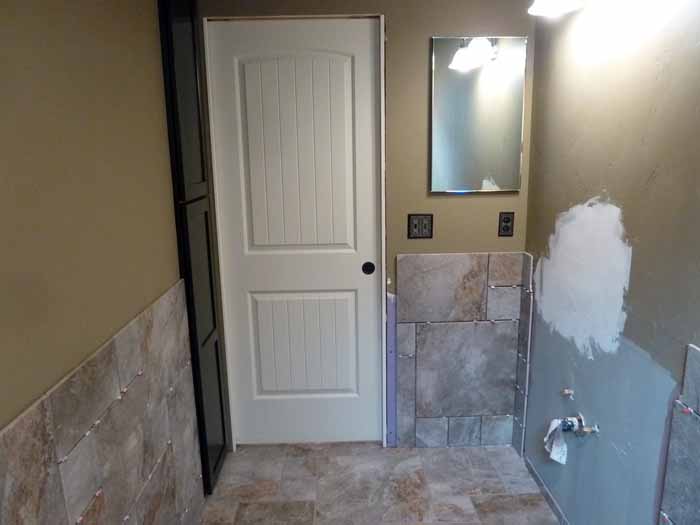
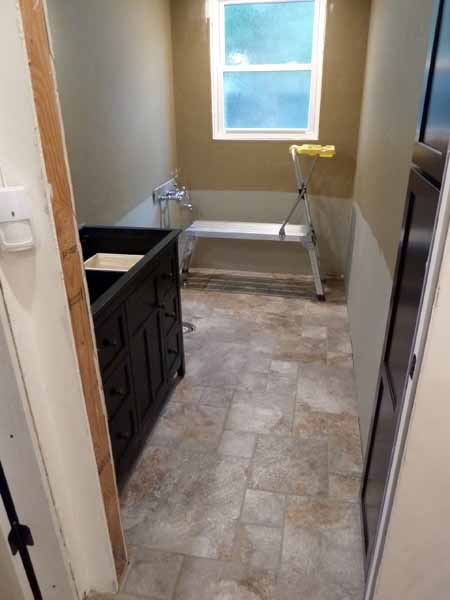
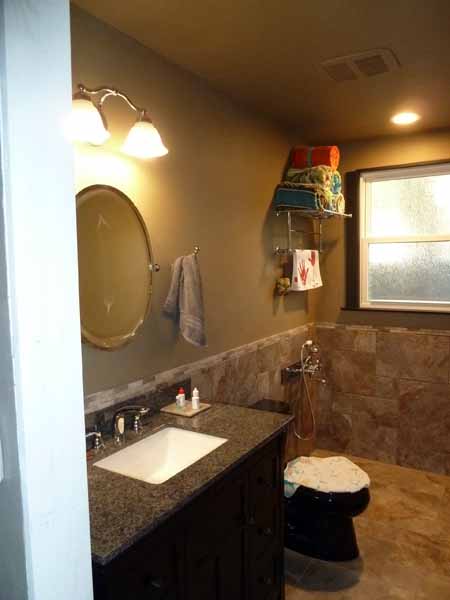
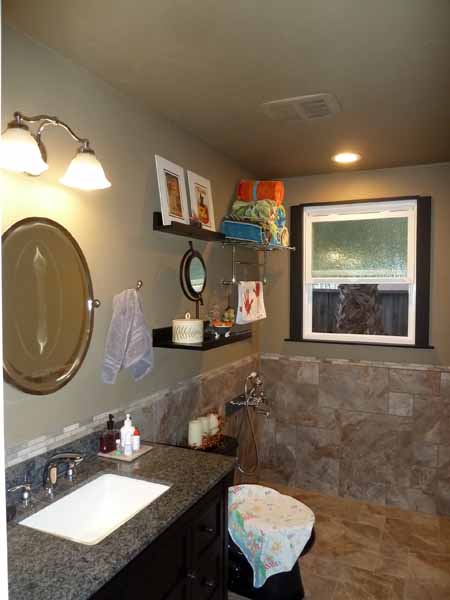
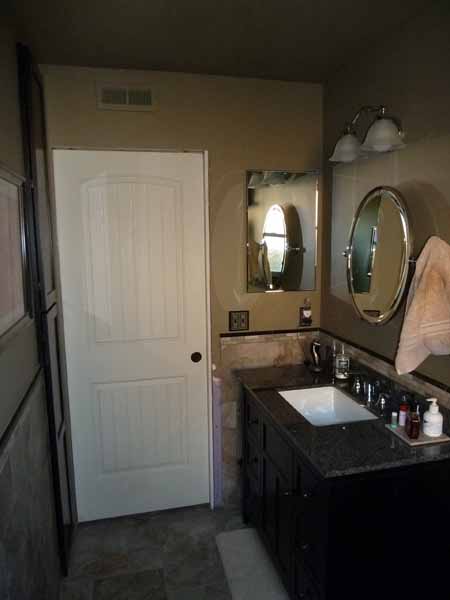
Finishing Details! The vanity is secured to the wall and plumbed. The hardware is installed: light fixture, mirror, bathrobe hook for towel, tub faucet, train towel rack and two shelves from PB. The toilet is installed. Max has painted the window trim. We decided against having a long towel rack on the wall opposite the vanity, it's not necessary and could be an elbow knocker. Min has discovered a new water source and the toilet lid is a good spot to jump to the higher vanity.
Problem/Solution 3. With the tile floor in, we could fine tune the vanity and wainscot height issues; but floating out the wall with metal lath and mortar didn't seem to be an option now. But tiling directly, would require building out the wall ½ inch. Solution-we would use the extra piece of granite that came with the vanity top.
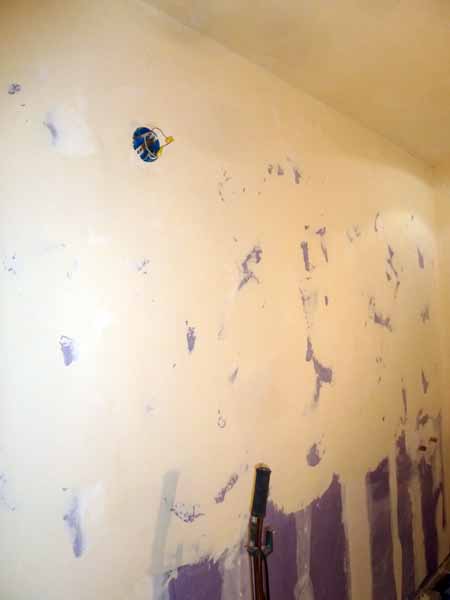
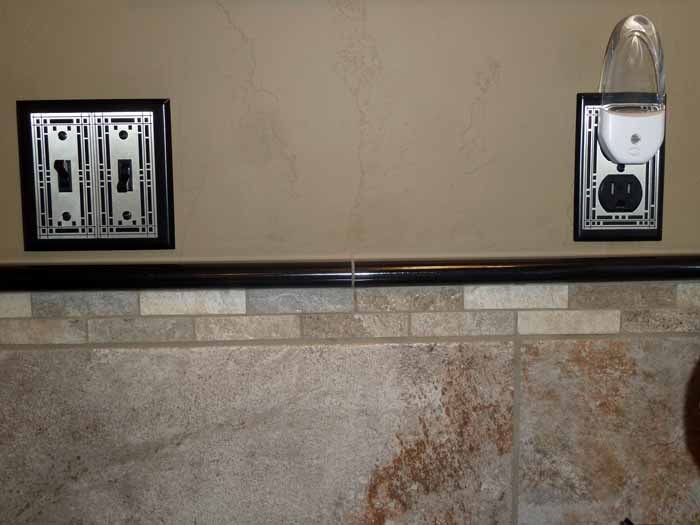
Problem/Solution #1. These pictures explain what we missed before the wallboard went up. Note the level of the light switch, outlet and medicine cabinet, comparing them with the doorknob hole. They are too low for the top of the wainscot and trim.We didn't want the tile cut around the outlets. We decided to move them up.
Fred cut out new holes, moved everything up and replaced wallboard. I mudded the new joints and applied new texture. Fred rewired the switch and outlet.
Eisenwall, lol. The texture patching literally disappears when dry. Just a shade off the paint color.

Problem/Solution 4. I like using full pieces of tile for the wainscot; an extra row of tile above the backsplash would bring up the level just where we needed to be. Found a narrow wastepaper basket to fit to the left of vanity.
May - Problem Solving / June & July - Tile
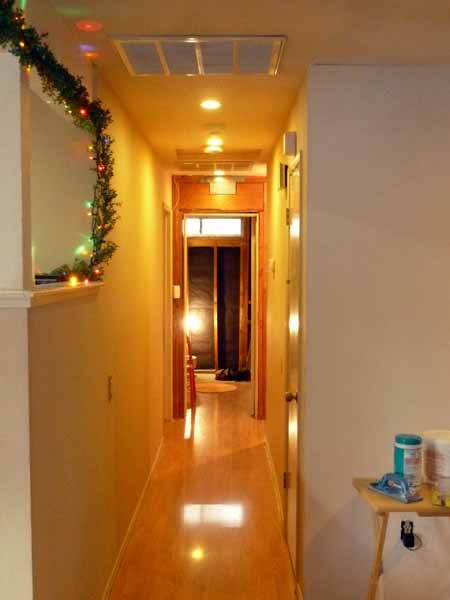
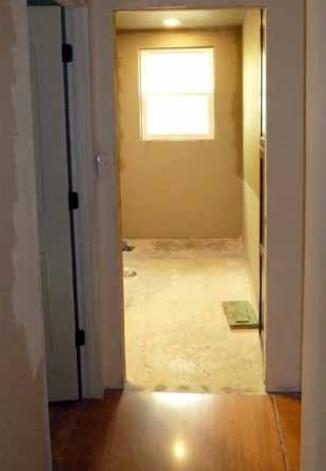
The hall bath has never been this
BRIGHT!
Problem/Solution 2. We also should have put blocking in behind the vanity and backsplash to make sure the wall was straight. A seam in the wallboard caused an unacceptable gap between the wall and the granite, so I layered up mud to even out the dip, re-textured and painted.
Problem/Solution 5. Sergey was getting extremely busy, so after a few YouTube videos, some clay from Michaels, a diamond hole sawbit; Fred cut holes in the granite with the drill press and we were ready for wainscot.
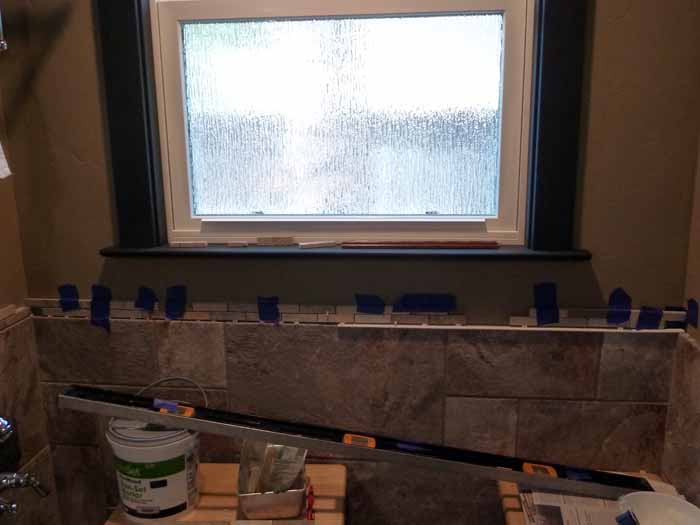
After a brief trip to the Grand Canyon, the wainscot tile goes up on July 9th.


I had marked the vanity outline and Vlad cut tile so precisely, the vanity sits against the wall without shims.
The line of wainscot was a bit off from Fred's precisely leveled window by 1 cm. I corrected with the grout line. Fred has built the window trim unit; Max painted with an airbrush. Not sure of the matte finish, may need to go with a satin.
Mr. Moulding didn't have the wood moulding that we used in the master bath.
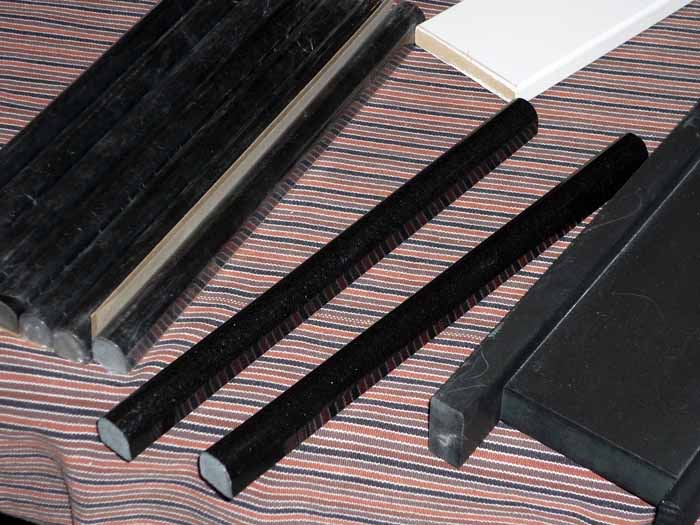
I found these black granite pencil tiles online.
After I got new a new outlet and switch cover, the white receptacles looked odd so Fred installed new black switch/outlet receptacles.
The stuff from the linen closet has been in storage and I don't seem to need any of it!
I will have fun decorating the shelves with the seasons.
I got some fall prints from AllPosters and frames from Michaels during Xmas sales.
Max soaking a 103° fever, tub not completely filled.
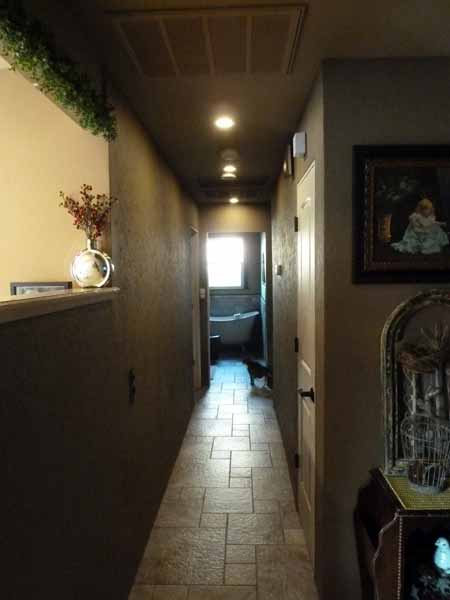
The bath is always on display down the hallway; we have a lovely view now.
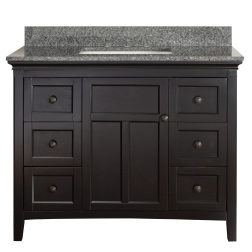
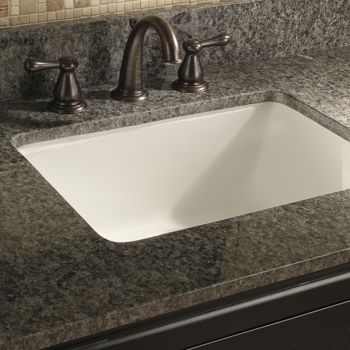
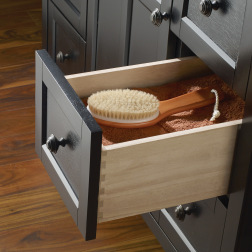
Manufacturer photos
It came with two pieces of granite for the backsplash, one long for the back and a short side piece.
The drawers self close when they are moved about 1½" from full close or close gently even if slammed shut.
The only items to finish is door and window trim, grout around base of toilet.
Max soaking in waist high water in 2003.

ORIGINAL WINDOW
FRAME DESIGN 1
WIDE, SLIDING
FINAL: NARROWER, LONGER
DOUBLE-HUNG
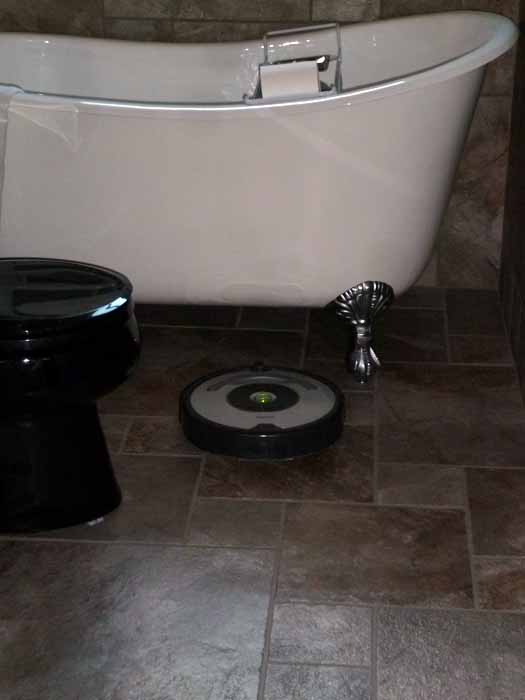
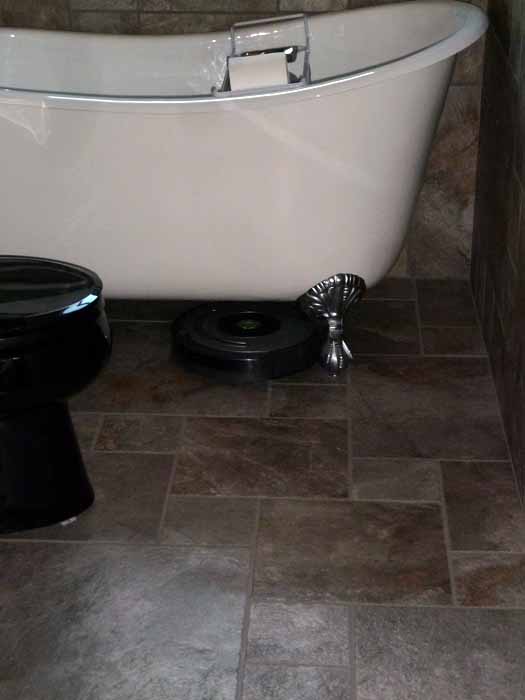
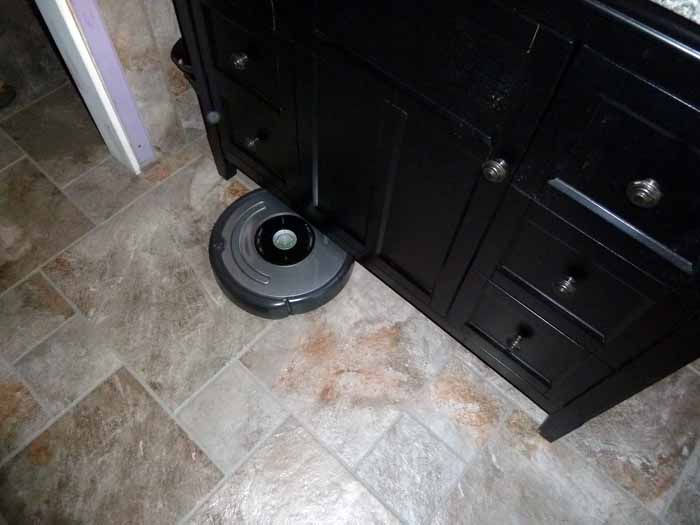
The iRobot Roomba vacuums under the tub and vanity daily.
We call him Sonny; he is very dependable and recharges himself. I just need to empty his bin.